Would you believe that I haven't touched my sewing machine for over a month! I never thought that would happen... But it has. :(
I've been living vicariously through my daughter, Mel, and her new business venture, Inspiration Station. She has started a craft school in Doha, Qatar, so I can only participate by looking at photos. Here is a selection.
This is a quilled monogram made by one of her students.
You can see more about the school on her blog, http://ourinspirationstation.wordpress.com or find them on Facebook.
Other things keeping me busy or keeping me from sewing, I have a new hobby. I've joined a Sweet Adelines chorus. It's great fun but hard work too. We had a coaching session one Saturday, singing from 9 til 5!
When I've not been singing or working, I've been sitting with my leg up. It is now four months since I fell getting out the shower and bruised my shin on the edge of the bath, and three months that I've been on antibiotics for the resulting cellulitis. I read a statistic (in one of the maths textbooks of all places!) that the risk of getting cellulitis is almost four times more likely in the Maori and Pacifica population in South Auckland than in other populations in New Zealand. Now I may live in South Auckland but I'm a pasty white Scottish woman! Must be something in the water -or the air! There certainly is a lot of it about.
First week of the holidays almost over and I've been busy helping my other daughter, Becky, get ready to move to Sydney. She leaves on Sunday. Very sad face :(( but happy that they are going to have an adventure. I'll really have an empty nest by next week. Nothing to do but sew... And mark assessments... And write reports!
Friday, October 4, 2013
Sunday, August 18, 2013
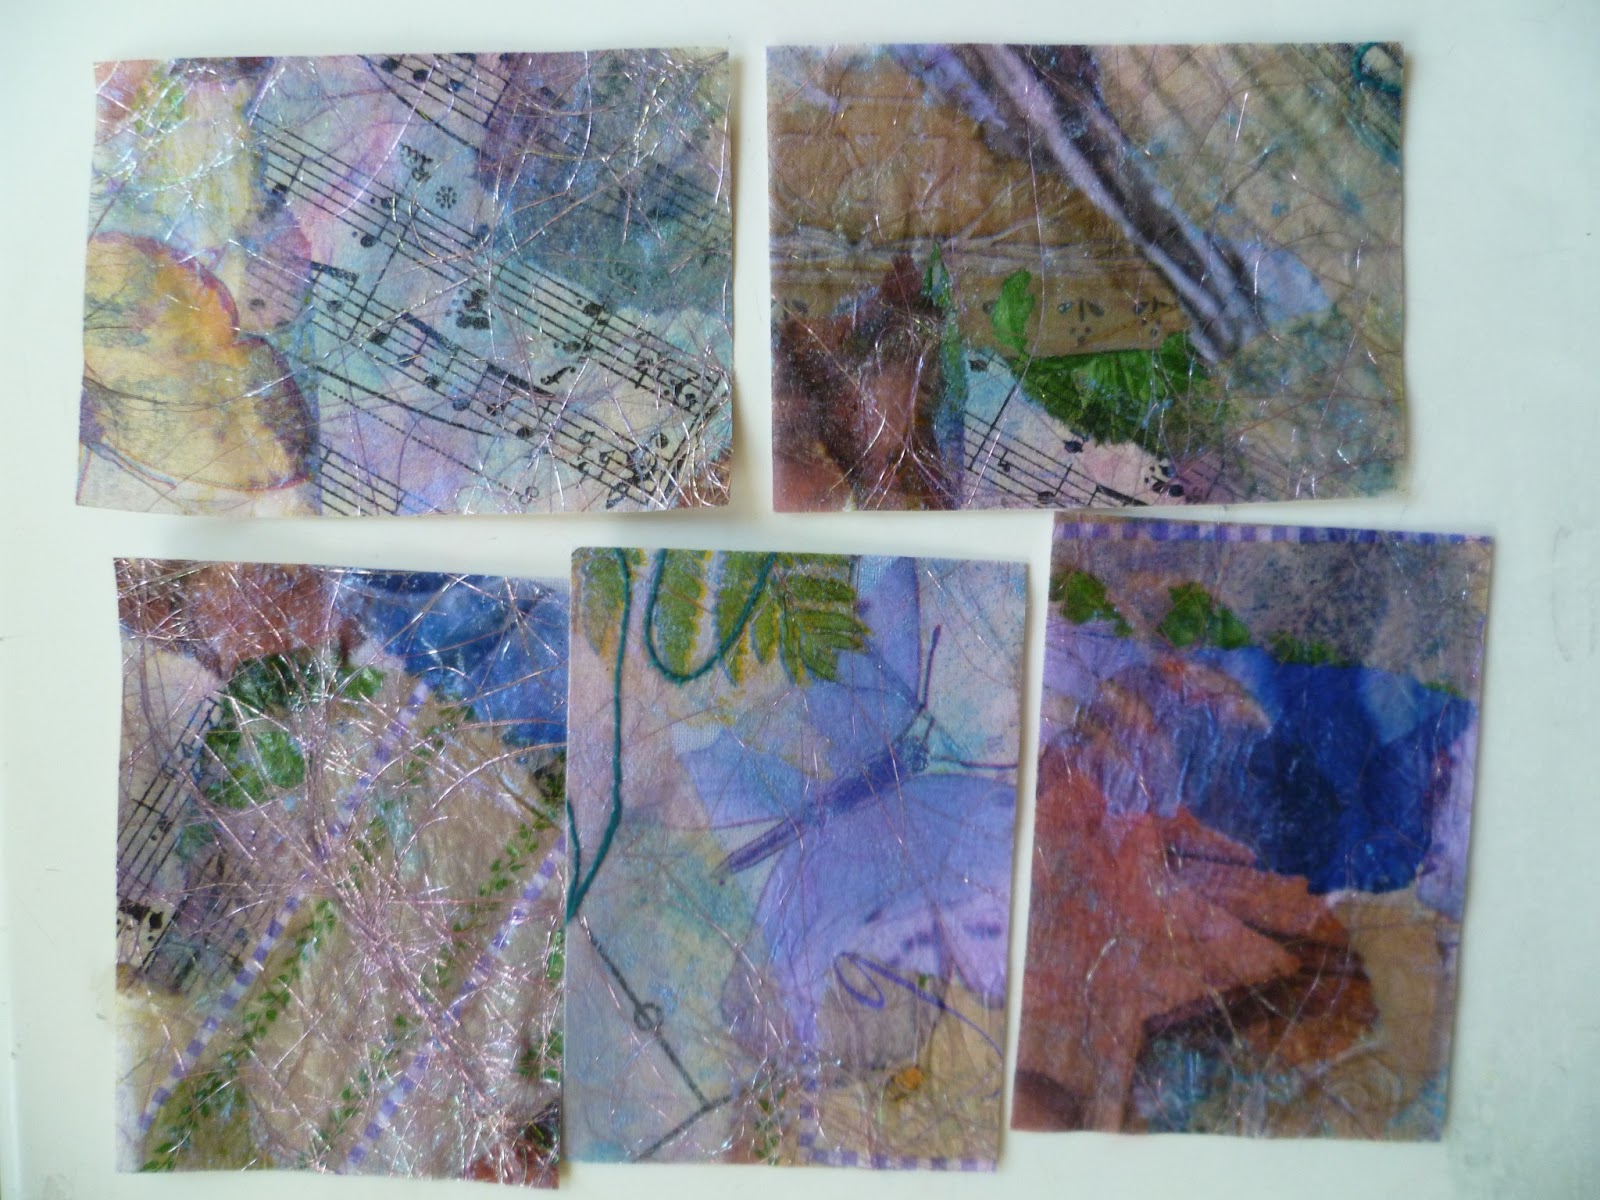
ATCs
I swapped these...
This is what we did this month. You'll have to wait to see what I turn it into.
...for these.
Aren't they lovely!
This is what we did this month. You'll have to wait to see what I turn it into.
Sunday, August 4, 2013
How to make my clown quilt
I tried to get a better photo of this quilt. Here he is hanging on the washing line!
I played around with my iPad and made this video showing how to do needleturn applique on freezer paper.
http://www.youtube.com/watch?v=3-
NuXEFYiZc
Theses are links to all my posts about this quilt.
http://layer-upon-layer.blogspot.co.nz/2013/08/clown-mystery-quilt-finished.html
http://layer-upon-layer.blogspot.co.nz/2013/02/mystery-quilt-revealed.html
http://layer-upon-layer.blogspot.co.nz/2012/12/mystery-quilt-blocks-finished.html
http://layer-upon-layer.blogspot.co.nz/2012/10/mystery-quilt.html
I played around with my iPad and made this video showing how to do needleturn applique on freezer paper.
http://www.youtube.com/watch?v=3-
NuXEFYiZc
Theses are links to all my posts about this quilt.
http://layer-upon-layer.blogspot.co.nz/2013/08/clown-mystery-quilt-finished.html
http://layer-upon-layer.blogspot.co.nz/2013/02/mystery-quilt-revealed.html
http://layer-upon-layer.blogspot.co.nz/2012/12/mystery-quilt-blocks-finished.html
http://layer-upon-layer.blogspot.co.nz/2012/10/mystery-quilt.html
Clown mystery quilt finished
Isn't he marvelous!
I quilted the background and border on a friend's quilting frame (thanks Raewyn!) and quilted the clown on my domestic machine. Most of it was just outline quilting but I tried to do more interesting things where I could.
Like stamens on the flowers...
Curls in his hair...
Spirals on his nose and shoes...
Ruff pattern on his braces...
And I used some of the red fabric in his trousers for inspiration and quilted my signature meandering hearts. I've used that quilting pattern in so many quilts!
I tried a new type of binding on this quilt. It is 100% machine sewn! I saw it on a blog but sorry, I can't remember which one and google didn't find it for me. There are plenty of tutorials out there though. Search for 'binding with false piping'. Here is the way I did it.
Cut the binding fabric 1 3/8" wide and a contrast fabric 1 5/8" wide. Sew them along the long side. Press the seam allowance to the binding fabric.
Fold the binding in half. Match raw edges and sew to the back of the quilt with a quarter inch seam allowance with the contrast fabric facing up.
Bring the binding to the front. Stitch-in-the-ditch between the binding fabric and the contrast, matching the top thread to the contrast fabric and the bobbin to the backing.
Mitre the corners just as you would for a regular binding.
I quilted the background and border on a friend's quilting frame (thanks Raewyn!) and quilted the clown on my domestic machine. Most of it was just outline quilting but I tried to do more interesting things where I could.
Like stamens on the flowers...
Spirals on his nose and shoes...
I tried a new type of binding on this quilt. It is 100% machine sewn! I saw it on a blog but sorry, I can't remember which one and google didn't find it for me. There are plenty of tutorials out there though. Search for 'binding with false piping'. Here is the way I did it.
Cut the binding fabric 1 3/8" wide and a contrast fabric 1 5/8" wide. Sew them along the long side. Press the seam allowance to the binding fabric.
Fold the binding in half. Match raw edges and sew to the back of the quilt with a quarter inch seam allowance with the contrast fabric facing up.
Bring the binding to the front. Stitch-in-the-ditch between the binding fabric and the contrast, matching the top thread to the contrast fabric and the bobbin to the backing.
Mitre the corners just as you would for a regular binding.
| Click to enlarge |
Saturday, July 27, 2013
ATCs from fabric paper/paper fabric
Oh, what fun I've had with the arty farty group. We made fabric paper - or is it paper fabric? Then we turned them into artist trading cards.
The beginnings of my edition called 'Spring'. There will be 12 in this edition.
I made this by separating the 3-ply layers of pretty serviettes and glueing the top layer to fabric. I also added bits of text torn out of an old book, music or bits of old patterns or tissue. Then I painted it all with a thin wash of purple, added some Angelina fibres, couched some perle cotton, a bit of stencilling with sequin waste and added some washi tape.
I've got lots of them!
The next stage is to stitch it to felt and stiffener and then add the embellishments. My embellishment box has grown! I said I wasn't going to get into scrapbooking as my craft hoarding was enough of a problem already. These ATCs have let all that scrapbooking stuff sneak in by the back door! But it's fun and aren't those resin flowers cute?
The beginnings of my edition called 'Spring'. There will be 12 in this edition.
I made this by separating the 3-ply layers of pretty serviettes and glueing the top layer to fabric. I also added bits of text torn out of an old book, music or bits of old patterns or tissue. Then I painted it all with a thin wash of purple, added some Angelina fibres, couched some perle cotton, a bit of stencilling with sequin waste and added some washi tape.
I've got lots of them!
The next stage is to stitch it to felt and stiffener and then add the embellishments. My embellishment box has grown! I said I wasn't going to get into scrapbooking as my craft hoarding was enough of a problem already. These ATCs have let all that scrapbooking stuff sneak in by the back door! But it's fun and aren't those resin flowers cute?
Thursday, July 25, 2013
Guild BOM
Counties Manukau block of the month was really cute last month. I hadn't even started it by the meeting date so no chance of me winning them! I really liked it so I made one anyway.
My friend Raewyn won them. Here's the rest. It's going to be a fabby quilt!
Amigurumi gecko
The first week of the school holidays has been a wash-out for me. I bruised my leg falling out of the bath about four weeks ago and the bruise turned nasty. It turned out to be cellulitis and I've had to sit with my leg elevated for a whole week - plus a couple of doses of intravenous antibiotics. Not fun but at least I had a chance to try a new hobby. Here is my first amigurumi toy, a gecko.
And here is a shot before he got his sequins.
I think I need to work on my tension and also I read somewhere that you can do invisible increase/decrease stitches so you don't get holes and bumps. This is 8-ply acrylic on a 4.5mm hook. Mark II will be an improvement!
Subscribe to:
Posts (Atom)