Showing posts with label surface design. Show all posts

Monday, December 24, 2018

Little house quilts turned into a book

Time for my annual blog post!  (Updated Sept 2021 with more instructions at the end)

Summer holidays are here and I've finally got around to doing something with my 100 day project quilts. I made 16 of them... in 2016! 


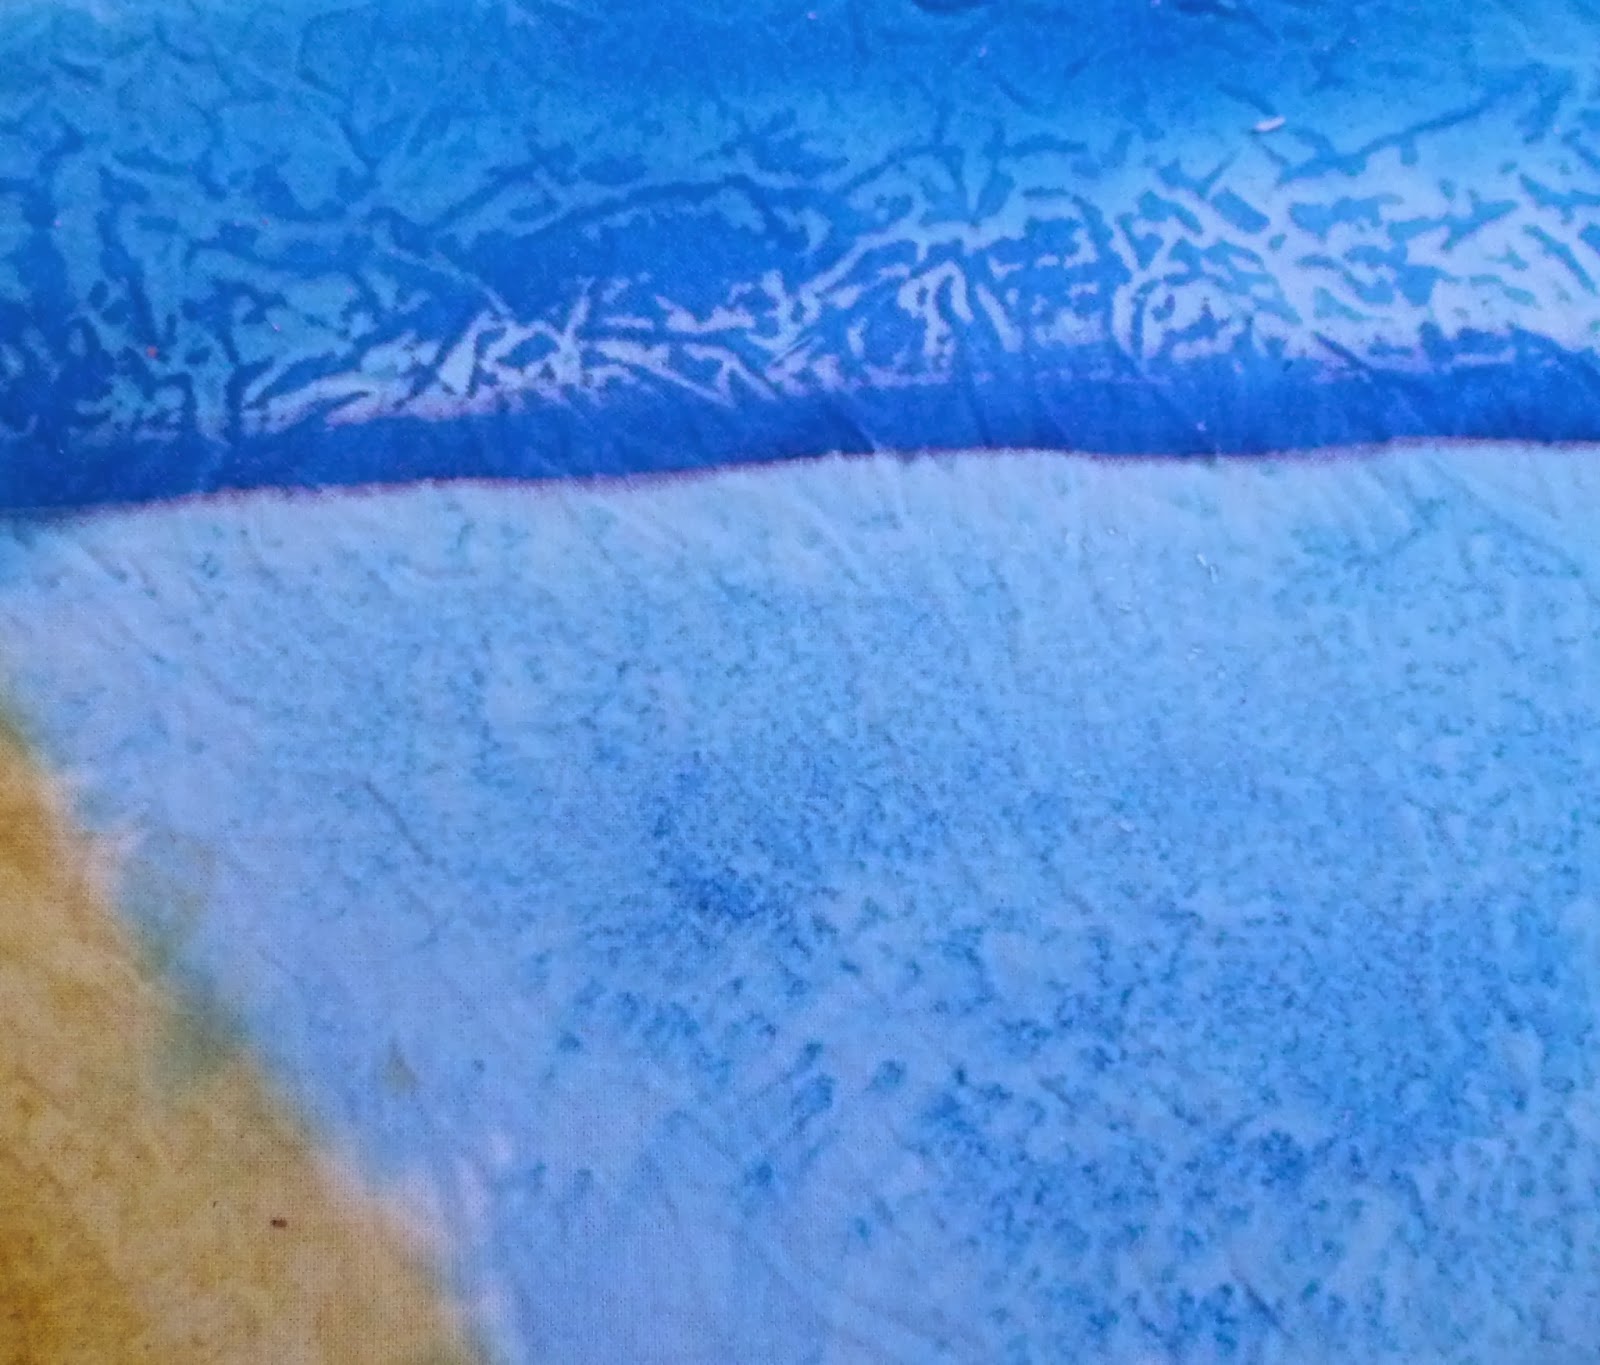
I had a lot of fun making this book. The cover is my usual rubbing, stamping and stencilling on white fabric until I've built up a good texture.


There are lots of videos out in YouTubeland on how to make a book. I've made this one with a cardboard box that was the right depth to make the spine (Mini Magnum box) and used a pamphlet stitch. Just search for pamphlet stitch if you fancy making one like this. Enjoy!


Update: I found my purple ink and script stamp. It just needed a little bit more. Spot the difference!


Updated with more instructions in 2021. This would have been easier as a video or with photos but I didn't take any of the process. I hope my wordy instructions make sense.
  • First, I sewed the 16 mini quilts into back-to-back pairs to make 8 pages. Then I sewed each pair of pages to a grosgrain ribbon spine to make 4 signatures. I used ribbon so that it reduced the bulk at the spine and allowed the pages to fold easily along the spine.
  • I stacked all the pages and measured them for the depth of the spine, making sure to not compress the pages. I found a food box that was an appropriate depth. Turned out to be an ice cream lolly box. Yum! Cut the box a bit bigger than the pages to give a front and back cover and spine all in one big rectangle.
  • The next stage I made overly complicated by sewing on the "Home" letters and also using double sided sticky sheet. A thin coat of mod podge or tacky glue would work just fine. Cut the fabric slightly bigger than the cardboard and glue down. Fold the book closed to make sure that the fabric can stretch over the folds at the spine. Fold the fabric around the edges and glue to the inside of the cover, trimming if necessary. Don't cut the corners off completely. The fabric will just fray and make the corners messy. Cut a few mm from the edge of the cardboard.
Attaching the pages to the cover
  • From cardstock or patterned paper, cut two endpapers very slightly smaller than the inside covers. This will cover up fabric from the outside of the cover. Cut another piece the height of the endpaper and the width of the spine plus about 6cm/2 inches. 
  • Cut a piece of cardboard the same height as the endpaper and very slightly smaller than the width of the spine. This has to fit inside the spine when the book is closed.
  • Now for some maths. Measure the width of the extra cardboard spine that you cut. Divide this measurement by the number of signatures that you have. This is going to be the spacing between your signatures.
  • Mark the position of the holes in the cardboard spine to attach the signatures. Mark the first line are half the spacing distance from the long edge. The rest of the lines will be spaced out at the distance you calculated so that the final line is half a spacing from the other edge. Round as nessary for easy measuring and the make sure that the signatures are centered. For example, my spine was 47mm. I had 4 signatures so my spacing was 11mm and a bit. I rounded it down to 10mm for the full spacing and rounded up to 8mm for the half spacing. So I had lines at 8mm, 18mm, 28mm and 38mm, which meant I had 9mm space at the back.
  • Now to find the position of the holes for stitching in the signatures. Draw a line across the vertical lines half way down the length of the spine. Draw another two lines across at equal distance for the top and bottom holes so that the holes will be inside the page size (not the cover size).
  • Glue the spine patterned paper the the other side of the cardboard spine, centering the cardboard on the paper.
  • Punch holes in the cardboard at the positions you marked. I have a very small hole punch but an awl or anything sharp can used to make the holes.
  • Sew in each signatures using a pamphlet stitch. As I said at the top, there are plenty of videos showing this and it is hard to explain without photos or diagrams.
  • Using a strong glue, tacky glue or silicon, glue the cardboard spine in place and glue the extra flaps of paper to the front and back covers.
  • Glue the front and back endpapers to front and back covers respectively.  These will go over the extra paper from the spine to help secure it.
I have to say that this isn't a traditional bookbinding method. Endpapers are meant to be a double page and glued to the text block (the book pages) and the inside cover. I've adapted it because obviously I didn't want to glue paper to fabric. My book is still looking good three years on. The cardboard spine didn't glue down properly but the endpapers have kept it all in place.

Sunday, December 27, 2015

Class with Maureen van Dam

Merry Christmas and I hope you all got what you wanted. Two years ago I spent Christmas day sewing with my Mum. We decided to do the same again. My girls are both in Sydney so there was only us to please - and that's what pleased us. This is what I finished.


I took a class with Maureen van Dam recently. What a lovely lady! She first came on my radar many years ago with a quilt in The Big Quilt show at Northart. It was a quilt she made with fabric she had brought from her homeland of South Africa. There was something about that quilt that I remembered it all those years. It was the clever way she had put the African fabrics together that just shouted Africa to me. It was more than just the fabrics. Anyway, her work is quite different now but still that same sense of design. She said that she didn't know what I was doing in her class, what with my recent win in the Dorothy Collard Challenge. Believe me, I've still got a lot to learn!

Flowers and leaves painted on plain white cotton
Fusible web applied, cut out and appliqued on to one of my hand painted fabrics. (Apologies for the blurry photo)

The background was quilted with a leaf design and curls.

Inserting the zip
This is how I prefer to insert zips for cushions. Cut the back in two pieces (halfway or not, whatever fits in the fabric I have.) Stitch the two bits back together with a normal stitch length for the first couple of inches, about 5cm. Then put in a lock stitch and increase the stitch length for most of the seam, finishing off with a lock stitch and normal stitch length. Press the seam open and pin the zip so that the teeth are right on the seam. Stitch around from the front with a zipper foot. I used a zip that was longer than I needed. When I got to the last part of the second side, leaving the needle down I unpicked part of the tacking stitches and pulled the zipper thingy (I'm sure it has a name) past the needle and then stitched the last part. Then it's just a case of unpicking all the tacking stitches and you have a perfect zip.
Stitching the last part of the zip insertion.

Why do I have a photo of me with Elvis? We had a 50s party at work. This is my 50s Walkaway dress. It doesn't scale up to a plus size well! I have no idea why 70s Elvis came to a 50s party. But the good news is that I had a lot of fabric left over, just the ideal colour to finish off my cushion. I've been itching to try this unusual finish for a cushion. I put the back and the cushion front wrong side together and stay-stitched all the way around. Then I applied a binding in the same way that you would do to a quilt. The quilt had quite a stiff stabiliser on the back and corners would never had turned out nicely if I had made this the traditional way.

Here is is without the pillow inside so that you can see how beautiful those corners are. It's going on my bed but I think this treatment would hold up to everyday use.

Sunday, March 15, 2015

Wallhanging using Inktense monoprints

I see that I made the monoprints last November and blogged about the stencils in January. Well, it's only March and I've done something with them!

I decided to make a wallhanging and to print a backing for it. I made an overall tessellating pattern, something I learned from Lisa Walton's book. I knew how to make a tessellating shape (I teach it!) but I had never thought about making a repeating pattern. The pink is my backing fabric. You can see the repeat block but hopefully you can also see that those leaves form an overall pattern that repeats.


I wanted to do some bobbin work using my leaf pattern on the back. I tried out some beautiful soft bamboo thread that Lisa included in an order. It was just the right colour for what I wanted and created this lovely boucle effect when stitched but as you can see, I didn't get very far before I had to stop and rethread. I'll save it for something with more straight stitching. I used a crochet cotton instead, leaving the needle tension quite loose so that it creates a couched stitch. I used a variegated thread in the needle.
I also trialed some quilting in between the leaves. I was originally going to pebble the whole thing but I felt that it was going to build up too much thread and the printing and stencilling would be lost. The echoed curves are also in some of the printing so that seemed appropriate.

This is the bobbin work on the wallhanging. Since I was working from the back, I could follow the shape of the leaves in my backing design.

And I've done some of the quilting between the leaves.


Sunday, February 15, 2015

Playing with Evolon

Ann from our Arty Farty group showed us the leaves she made at Quilt Symposium last month. She did a class with Betty Busby, who also had a quilt in the Living Colour exhibition on display at the Symposium and recently in Auckland too. I saw it in Sydney last year and it was a real treat to see it again! The standard of the quilts in that exhibition are quite amazing. One day I would like to enter a quilt for one of Brenda Gael Smith's juried exhibitions. I think I've got a way to go yet!

Anyway. we all loved Ann's leaves so this month she showed us how make them. Evolon is a product I hadn't heard of before. It's a non-woven product that is quite sturdy but has a soft suede-like feel to it. It is manufactured by the company that makes Vilene and Lutrador. It's quite amusing reading up about the product. They market it as a dust-mite proof cover for mattresses and other such uses. Us quilters print and paint it!

Here are the ones I made.

We stamped leaves using Lumiere paint on the back of leaves.

Added fusible web to the back and cut them out with a soldering iron.
Then painted them with a transparent paint.


Last year I made these free-motion embroidery leaves on Solvy. They may end up in the same project.

Friday, January 9, 2015

Stenciling

I had a play with the stencils I bought from Lisa Walton. I put Sun Dyes (also from Lisa) in spray bottles and sprayed the middle of the stencil, then turned the stencil over and printed with the excess paint. Just using two colours and the positive and negative shapes from the stencil makes interesting patterns.

That splodge of blue was a mistake. I use my outdoor glass table for these messy activities and I hadn't realised that one bit wasn't dry. When I got to that bit of the table and sprayed, the blue paint just spread under the stencil. So, after I had finished stenciling that piece, I put the stencil on top of the blue spot and left it in the sun. As you can see, the sun painting method has worked and there are lighter lines where the stencil was sitting.

The stencil at the top of the above photo is a street map of Paris. I love the spiderweb effect. I will probably chop these up and make something sort of abstract. In any case, I'm much more likely to use this fabric now it isn't a solid pale yellow!

And while I had the paint out, I had a go at an idea I had for sun painting combined with stenciling. I made this by wetting the fabric first and then applying paint under the shapes (paper and leaves) and then spraying on top. I ended up going darker than I intended and I was going to crop it but I like the edges. I have no idea what I'll do with it!


 Progress shot. The paper stayed in place just by sticking to the paint. I put pebbles on the leaves to keep them from blowing away. The thread and immature grape trusses are not sprayed/stencilled but left just to do the sun painting thing.
And the finished piece from the same angle.

Thursday, November 27, 2014

linoprints without lino

I had a few issues with technology this week so I'm actually staying late at work to do this! Blogging on an iPad is hopeless and my little netbook has finally given up. I think it needs to be put to rest.

How do you do linoprints without lino and sharp instruments? I saw this video by Derwent using foam and Derwent Inktense blocks (and you know I love my Inktense blocks) so I thought I'd give it a go on fabric. The only thing I did differently to the video is that I placed the fabric on the table and turned the foam over and pressed from the back of the foam. It worked well so I shared it with our arty farty group.
Very simple materials list: foam from Spotlight, Inktense blocks, bamboo crochet hooks instead of expensive embossing tools, rubber gloves and the one thing I don't have in this photo is the small spray bottles I picked up at the $2 shop.

I asked the arty farty group to bring white, cream or light coloured fabric. This is what we made.
Ann managed to get quite fine lines with a pencil.We started off just printing one colour.
Then Mel showed us a printmaking technique called a reduction print. Her Peace Lily is to the left. She started by pressing out the outlines and the white bit for the flower and printed yellow. Then she pressed out the yellow stamen and printed light green. The foam only takes so much abuse so rather than try to emboss the leaves, she just painted the background with dark green and then printed it. My attempt at a leaf is on the right!
Helen made this lovely woodgrain using two colours.
This was my reduction print. I did it in three stages. Embossed the main outlines, printed yellow, embossed the centre of the flowers, printed orange, embossed the whole flower and then coloured different sections of the the remaining print to get this effect.


This feather below has been washed. I think I lost a bit of colour. Derwent Inktense is permanent after it dries but you have to wet it on the fabric first. It dries so quickly when you print that I think it isn't reacting to the fabric fully. I'm going to try a spritz of water after printing and drying, then let it dry again to see if I get better colour-fastness.

Sunday, February 9, 2014

Fiddler crabs

I had to take these photos with the flash so the colour isn't right. I've tried to adjust it so that you get a good idea of the ugliness of my challenge fabric. Pretty garish! But somehow I saw fiddler crabs in that fabric!

I just need to put a binding on it.

I'm particularly pleased with my little crabs in the distance. I just cut out random oval blobs for the first three and painted legs on them. Then when I went around them in black, they came to life. The very distant ones are just painted and then quilted with a dark grey thread instead. I like this scribble outline technique. It suits my messy way of working!

Friday, February 7, 2014

Painting backgrounds

I've been painting again. This time it's a background for a challenge quilt for our guild. I have a really ugly fabric to go on top of this but I think it will look great when it's finished.

The texture on the brown bit was done by adding rock salt to the wet paint. I used pink Himalayan salt, a bit extravagant but that's all I had. I've saved it for the next project!
I used Epsom salts on the light blue bit below. The darker bit I achieved by running a sponge brush with paint and no water over the wrinkled fabric. I let that dry and then added a wash of lighter blue over the top.  I wonder what a large piece would look like using that method, or adding a wash of a different colour.  Hmmm, more experiments needed.

Sunday, January 19, 2014

Experimenting with Sun Dyes

I had a play date with a couple of friends. We had all bought some Sun Dye paints from Lisa Walton so we had a day of experimenting.

Helen had a little bit of some thicker paint that I used to print leaves by painting onto the leaves and then pressing on to the fabric. Some worked better than others. Sun Dye is too liquid for this technique and perhaps I should have let it all dry before adding the wash over the top!

I loved this effect. This was the wipe up cloth after the one above, plus a little bit more colour to cover and then scattered with Epsom Salts and left in the sun.

This was just a doodle to see how much control I could have over the Sun Dye paint. Not a lot.

This was meant to be a sun print, the reason I bought the Sun Dye paint in the first place! I carefully arranged a load of different leaves on the painted fabric but nothing happened. Helen had the same problem. Then she said, "Do you think that doing it on a glass table is maybe not a good idea?" Duh! Then I had a double duh moment when I realised that I put the painted side down and put the leaves on the back of my fabric! Oh well, I'll just have to have another play.

I was very pleased with this sample though. This was another technique that I had been wanting to try, spraying paint through a stencil. The liquid nature of the Sun Dye paint seemed ideal for it. This is one of the Helen's stencils that she bought from Lisa. It's quite small so I had to be careful to only spray the middle to avoid getting a straight line from the edge but as you can see, the pattern seemed to merge into one cohesive whole. I also turned the stencil over and blotted off the excess paint onto the fabric so I've got positive and negative images. I only had one spray bottle and used three different colours but I think this would be easier if you had several bottles and could add more of any colour as you go. You also need to work quickly as the paint drys to a thin plastic film which clogs the nozzle. A great effect and well work the effort!

So I had another play. It was a lovely still day yesterday but I was too busy. Today was a little bit windy but very sunny. This time I lined the table with cardboard and a sheet of plastic and although I was worried that the fold in the cardboard might show through, the results were good.
 I painted this length in about three sections to try to get the leaves on to wet paint. Some of them stuck to the paint but I put pebbles on top just to be sure they didn't fly away.
 I scattered these little skinny leaves over when I had finished and the fabric felt dry already, I didn't think it would work but they look great. They give a real feeling of depth to the print, like little fishes swimming under the lily pads!