Showing posts with label gecko. Show all posts

Sunday, May 1, 2011

Koru Gecko


Finished and handed in at eight o'clock this evening - only four hours late! And I still have to sew the binding on the other dragonfly.

We tucked the gecko under a bundle of quilts for the show, hoping that it makes up for the fact that I didn't block this quilt. That outer border is very wavy.

This was how I quilted that last border. Leah Day calls this Water Plants,


Here are the previous posts on this quilt:
Start of the gecko design
My baste and topstitch method
More tips on baste and topstitch
Gecko scales - quilting pattern
Sneak peek at gecko quilting

Monday, April 25, 2011

Sneak peek at the gecko quilting

I really wanted to finish the gecko this morning. We had torrential rain last night and woke up to a really miserable day, just right for staying indoors and quilting. Right? Wrong! Everything is so damp that the quilt won't glide under the presser foot. After a few botched lines I decided to put my quilt on the towel rail and put the dehumidifier on - and go out shoppping.

So here is a sneak peek at what I've been up to.

I've only quilted a little bit on the blue patterned fabric, just around the shapes.  It's so pretty and I didn't want to cover up any of the design.

I've added three borders to this quilt.  The red one is only 5mm wide.  I thought I could just stitch-in-the-ditch around the outside of the cream and the red but it wasn't sitting nicely so I quilted the cream border.

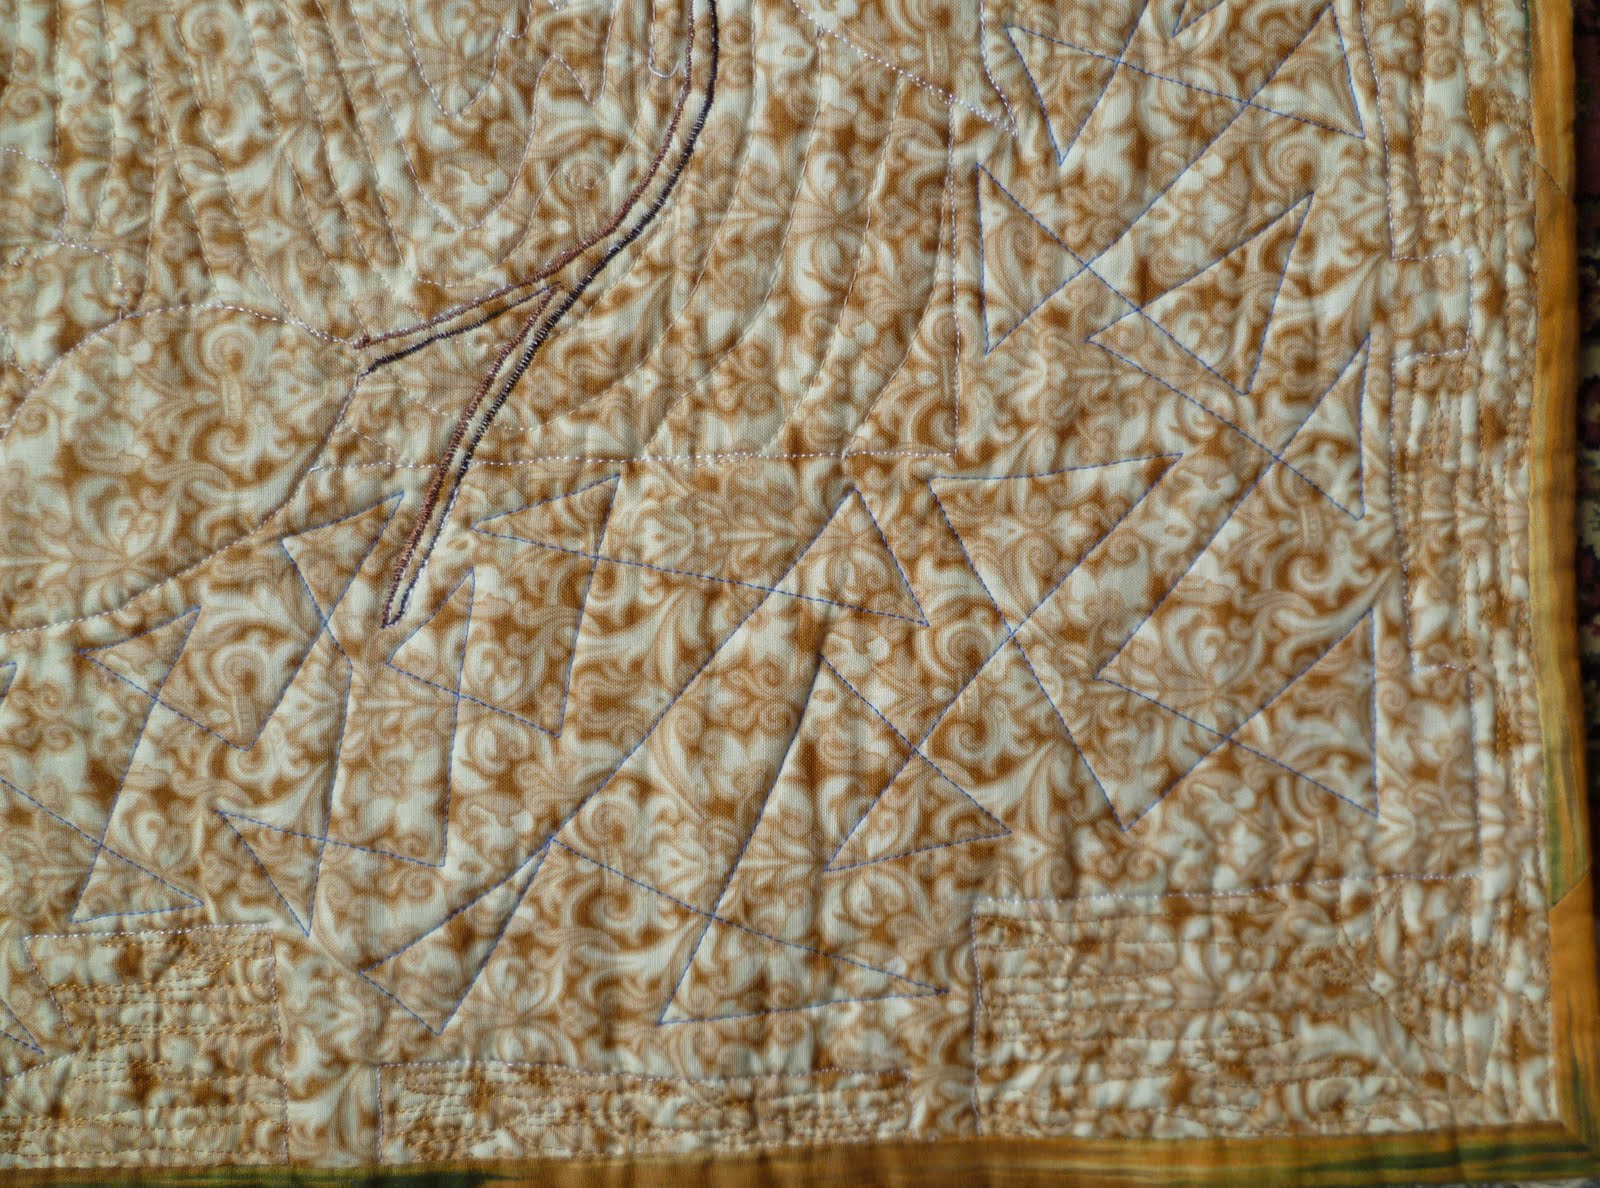
Taking a macro photo is the only way to see what I quilted! Ho hum, another piece of quilting that will never be seen. Just like the quilting I did on Becky's dragonfly. I really liked the blue jagged triangle thing I did on the blue border but you can't see it from the front. It filled that irregular border so well. Here is the back of Becky's dragonfly so that you can appreciate the quilting.

Tuesday, April 19, 2011

Gecko scales


This is what I'm thinking of doing on the gecko. I was reading a book about maths in nature, 'What shape is a snowflake' (I was in the library doing silent reading with a year 9 class so I was modelling good library behaviour!) Anyway, it must have been meant to be because I was struggling to come up with a way to quilt the gecko and what do you know, the answer was in this book! They have hexagonal scales, as do snakes and other lizards.

I will try to do my quilting a little bit neater on the quilt but I quite like the irregular shapes in my sample. I also wanted to experiment with making the scales different sizes and I think that worked quite well.  I started with the line down the spine and as long as the first hexagon is the right size, keeping the rest in the same proportion was fairly easy.  I want to have them large on the top of the head, smaller as they go through the neck and then larger again in the body gradually getting smaller as they go into the tail.  As I get close to the edge of the body and down the legs, I'll change the hexagons into circles to make it easier to quilt.

The head in my sample is about the same width (but shorter) than in the quilt.  I've got it on my metric cutting board so that is a 1cm grid.  I think the size will work on the quilt.  I'm almost too frightened to quilt it!  I love it so far and I don't want to muck it up!!  Should I go for it?

Sunday, April 3, 2011

Gecko - all pieced


All the piecing is finished. There are quite a few basting lines to remove and then I'm going to add a simple border and try to get it quilted in a week. Make that a night! I still have to finish the quilting on the dragonfly wallhanging and I think hand in time for the quilt show is next weekend. Help!! I'm going to have to ask for an extension - just like being back at uni.

Talking about university, I was at my lecture yesterday and the university are thinking of putting on a new Masters programme. We were given a questionnaire to fill in, basically asking if we would be interested in a 120 credit masters course that we could do now instead of a 120 credit postgrad diploma (that's what I'm doing now) and then the 120 credit masters course. Half the time and half the fees, of course I'm interested! There has to be a drawback and I would guess that it could be more difficult. I like a challenge!

I'm going to try loading this photo again...

Saturday, March 19, 2011

More tips on baste and topstitch

Some more tips...

Clip curves to just before the paper.  If you clip right into the paper then you will get pokies (little threads sticking out) but if you stop about 1mm to 2mm before the paper, the fabric will stretch as you press the fold and will make a nice smooth curve with no pokies.
 If you need to press a long curve or a tight curve, a little bit of glue (ordinary glue stick glue) will help hold everything in place. Don't use it too much otherwise it's difficult to remove the paper later.


When topstitching a piece where four shapes meet, stop at the beginning of the seam allowance.  If you sew the whole seam allowance down then you won't be able to fold it back... as I'm about to demonstrate.


Take the point at the tail end in the seam allowance and press it open.


Fold the seam back so now you have the tail tucked in and a neat angle to the seam.


Now the next piece can be positioned. Press the corner as precisely as possible. Line up the edges on the basting lines on the previous two pieces. This is easier if you have the corner facing you. Pin the corner. Flip the work over and  make sure that the freezer paper is positioned correctly in line with the design on the stabiliser. Baste the unfolded edges. Flip the work over again and topstitch the folded edges.


That was an obtuse angle - easy to fold.  Here is an acute angle. I press one side, unfold and then press the other side. That keeps the corner crisp and accurate. Then I fold both sides in at the point and use my origami skills (what origami skills!!) to fold the tail back and make a kite shape.  You may have to click on this photo to see what I mean.

Here is the topstitching stage on a similar piece. I've positioned the piece so the corner is exactly where I want it, basted the unfolded edges and now I'm ready to topstitch, starting on the left side. I've pivoted the kite shape bit so that I have a clear folded edge to topstitch.

I used to try to trim the bulk out by cutting the point off but that just makes it difficult to turn under and leads to pokies. Leaving a 4mm to 5mm seam allowance all the way around works better.


When I get to the corner, I leave my needle in the work and turn the work around ready to come down the other side.  The kite shape is in the way but because of the way it is folded, it pivots easily at the point.  I take a pin and just poke it back under.


And there you go, ready to sew the second side. It will feel like there is a bump under this point but by the time you remove the stabiliser and freezer paper, this seam will be flat.


I've finished half of it already. This piece is 400mm by 300mm so some of the pieces are quite small. The feet are fused but the rest is done using the baste and topstitch method.

Tuesday, March 15, 2011

Gecko - my baste and topstitch method

It took me a while to get a drawing on freezer paper that I was happy with. I decided to draw this freehand and I ended up with a deformed gecko! This is my gecko after a bit of surgery.


When I'm happy with the design, I go over the lines with a drawing pen, trying to keep the lines flowing smoothly. I don't want any sketchy lines at this point. If the line is ambiguous then the piecing won't be accurate. I've rubbed out any pencil lines so that the lines are clean.

Then I trace the design on to tear-away stabiliser.  I'm doing this one in two sections since this is the width of my stabiliser.  Again, accuracy is key to this fitting together.


I haven't traced the feet on to the stabiliser as I'm going to fuse them so I don't need these lines on my stabiliser.

I number the pieces of freezer paper before I cut them up. I have a system for numbering. I'll bore you with that another time.  Too tired tonight and I still need to do some school work!


So here's my first piece with the seam allowance trimmed to about 5mm.


The piece is positioned under the stabiliser, matching the edge of the freezer paper to the line on the stabiliser. This is the basting stage. I put cream thread in the bobbin and clear monofilament in the needle. With a straight stitch, a darning foot on the machine and the feed dogs up (not down!) I baste around the shape. I'm aiming to sew just outside the freezer paper. If you sew too far into the seam allowance then it's difficult to tear out the stabiliser.


And a view from the right side. The first piece is basted all the way around the shape.


Turn over the edge of the next piece where is overlaps the first piece and baste all way around the unfolded edge. Turn over and topstitch the folded edge with a narrow zigzag.  The monofilament is in the needle so these stitches will hardly show. This edge should land just over the basted line.  Sometimes, to get the seams to match, the basting stitches show but that's fine.  Just remove them.

There are heaps more tips I could share with you just in this little bit I've done tonight. Maybe tomorrow. Must go and do some of the work I get paid to do!

Friday, January 28, 2011

Start of a gecko design

Since I have no sewing machine and I'm still sewing the binding on the heart quilt, I thought I would share my next design with you.

Preamble to the design - Last September I was down in Hastings at the Blossom Festival with the Caribbeanz Southern Stars Steelband. That's me in the back right in the black tshirt and sunglasses. I should add musician to my description about me! This was the second year that we've been invited to play at this festival and we have already been invited for next year, which is a BIG deal as the rugby world cup is on and we have tickets to the game down there.

Isn't the covering on the bandstand fantastic. It would make a lovely quilting pattern.

When we go to Hastings, we stay at the Omahu Marae. This is the wharenui (Maori meeting house and also where we slept). I love the kowhaiwhai patterns on the beams.


My design was inspired by some paintings in the wharekai (which I forgot to photograph). The one that inspired me was a very simple gecko shape. I thought it would be great to put that together with a kowhaiwhai pattern and make another ghost layer quilt. I went for a simple koru design. Put two simple designs together and this is what ended up in my sketchbook.


I'm in the process of transferring this design to freezer paper - and making all the legs and feet in proportion with the body! I'm not sure what to do about the feet. Real gecko feet are sort of tear drop shaped. Graphic images of geckos tend to have little circles for toes. Whatever I do, I'm going to fuse the foot part since the shape is too fussy for my piecing method.

I haven't decided on colours yet but it may only have four fabrics, light and dark for the background and light and dark for the gecko. Then again, I may do my usual and have about 40 fabrics in it!