I tried to get a better photo of this quilt. Here he is hanging on the washing line!
I played around with my iPad and made this video showing how to do needleturn applique on freezer paper.
http://www.youtube.com/watch?v=3-
NuXEFYiZc
Theses are links to all my posts about this quilt.
http://layer-upon-layer.blogspot.co.nz/2013/08/clown-mystery-quilt-finished.html
http://layer-upon-layer.blogspot.co.nz/2013/02/mystery-quilt-revealed.html
http://layer-upon-layer.blogspot.co.nz/2012/12/mystery-quilt-blocks-finished.html
http://layer-upon-layer.blogspot.co.nz/2012/10/mystery-quilt.html
Sunday, August 4, 2013
Clown mystery quilt finished
Isn't he marvelous!
I quilted the background and border on a friend's quilting frame (thanks Raewyn!) and quilted the clown on my domestic machine. Most of it was just outline quilting but I tried to do more interesting things where I could.
Like stamens on the flowers...
Curls in his hair...
Spirals on his nose and shoes...
Ruff pattern on his braces...
And I used some of the red fabric in his trousers for inspiration and quilted my signature meandering hearts. I've used that quilting pattern in so many quilts!
I tried a new type of binding on this quilt. It is 100% machine sewn! I saw it on a blog but sorry, I can't remember which one and google didn't find it for me. There are plenty of tutorials out there though. Search for 'binding with false piping'. Here is the way I did it.
Cut the binding fabric 1 3/8" wide and a contrast fabric 1 5/8" wide. Sew them along the long side. Press the seam allowance to the binding fabric.
Fold the binding in half. Match raw edges and sew to the back of the quilt with a quarter inch seam allowance with the contrast fabric facing up.
Bring the binding to the front. Stitch-in-the-ditch between the binding fabric and the contrast, matching the top thread to the contrast fabric and the bobbin to the backing.
Mitre the corners just as you would for a regular binding.
I quilted the background and border on a friend's quilting frame (thanks Raewyn!) and quilted the clown on my domestic machine. Most of it was just outline quilting but I tried to do more interesting things where I could.
Like stamens on the flowers...
Spirals on his nose and shoes...
I tried a new type of binding on this quilt. It is 100% machine sewn! I saw it on a blog but sorry, I can't remember which one and google didn't find it for me. There are plenty of tutorials out there though. Search for 'binding with false piping'. Here is the way I did it.
Cut the binding fabric 1 3/8" wide and a contrast fabric 1 5/8" wide. Sew them along the long side. Press the seam allowance to the binding fabric.
Fold the binding in half. Match raw edges and sew to the back of the quilt with a quarter inch seam allowance with the contrast fabric facing up.
Bring the binding to the front. Stitch-in-the-ditch between the binding fabric and the contrast, matching the top thread to the contrast fabric and the bobbin to the backing.
Mitre the corners just as you would for a regular binding.
| Click to enlarge |
Saturday, July 27, 2013
ATCs from fabric paper/paper fabric
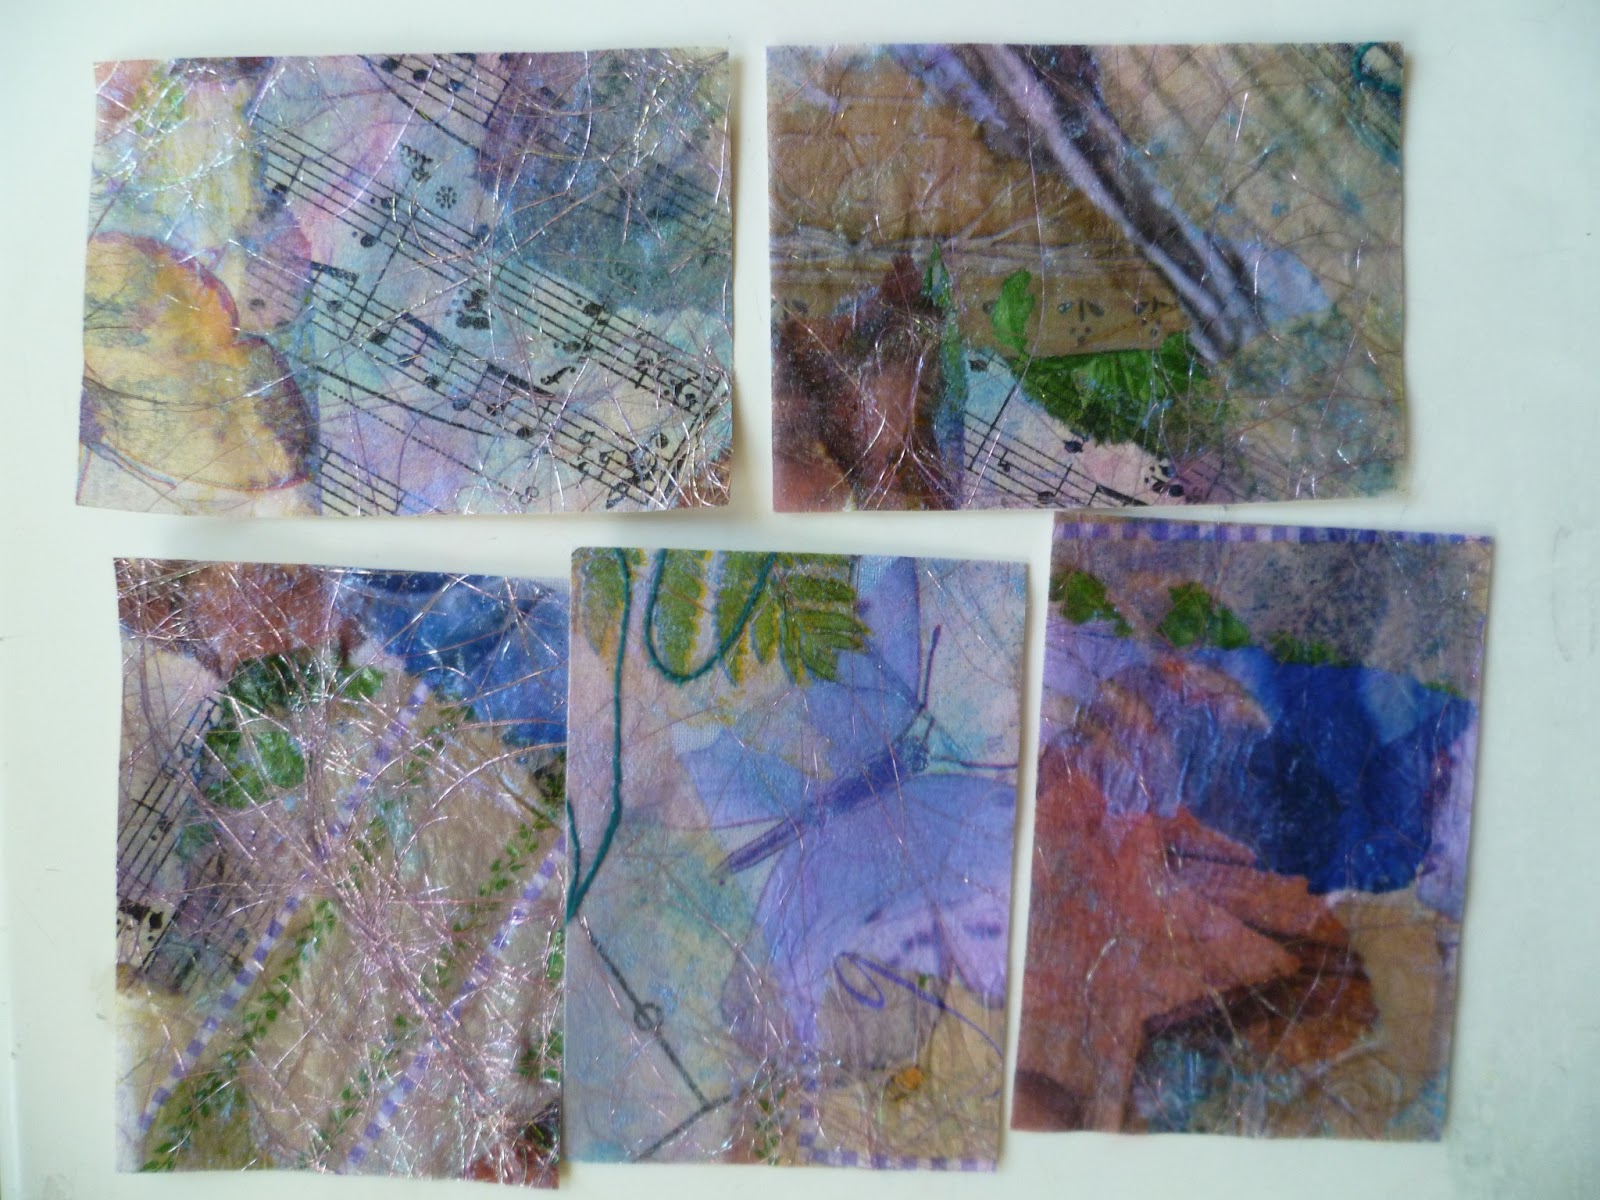
Oh, what fun I've had with the arty farty group. We made fabric paper - or is it paper fabric? Then we turned them into artist trading cards.
The beginnings of my edition called 'Spring'. There will be 12 in this edition.
I made this by separating the 3-ply layers of pretty serviettes and glueing the top layer to fabric. I also added bits of text torn out of an old book, music or bits of old patterns or tissue. Then I painted it all with a thin wash of purple, added some Angelina fibres, couched some perle cotton, a bit of stencilling with sequin waste and added some washi tape.
I've got lots of them!
The next stage is to stitch it to felt and stiffener and then add the embellishments. My embellishment box has grown! I said I wasn't going to get into scrapbooking as my craft hoarding was enough of a problem already. These ATCs have let all that scrapbooking stuff sneak in by the back door! But it's fun and aren't those resin flowers cute?
The beginnings of my edition called 'Spring'. There will be 12 in this edition.
I made this by separating the 3-ply layers of pretty serviettes and glueing the top layer to fabric. I also added bits of text torn out of an old book, music or bits of old patterns or tissue. Then I painted it all with a thin wash of purple, added some Angelina fibres, couched some perle cotton, a bit of stencilling with sequin waste and added some washi tape.
I've got lots of them!
The next stage is to stitch it to felt and stiffener and then add the embellishments. My embellishment box has grown! I said I wasn't going to get into scrapbooking as my craft hoarding was enough of a problem already. These ATCs have let all that scrapbooking stuff sneak in by the back door! But it's fun and aren't those resin flowers cute?
Thursday, July 25, 2013
Guild BOM
Counties Manukau block of the month was really cute last month. I hadn't even started it by the meeting date so no chance of me winning them! I really liked it so I made one anyway.
My friend Raewyn won them. Here's the rest. It's going to be a fabby quilt!
Amigurumi gecko
The first week of the school holidays has been a wash-out for me. I bruised my leg falling out of the bath about four weeks ago and the bruise turned nasty. It turned out to be cellulitis and I've had to sit with my leg elevated for a whole week - plus a couple of doses of intravenous antibiotics. Not fun but at least I had a chance to try a new hobby. Here is my first amigurumi toy, a gecko.
And here is a shot before he got his sequins.
I think I need to work on my tension and also I read somewhere that you can do invisible increase/decrease stitches so you don't get holes and bumps. This is 8-ply acrylic on a 4.5mm hook. Mark II will be an improvement!
Sunday, July 21, 2013
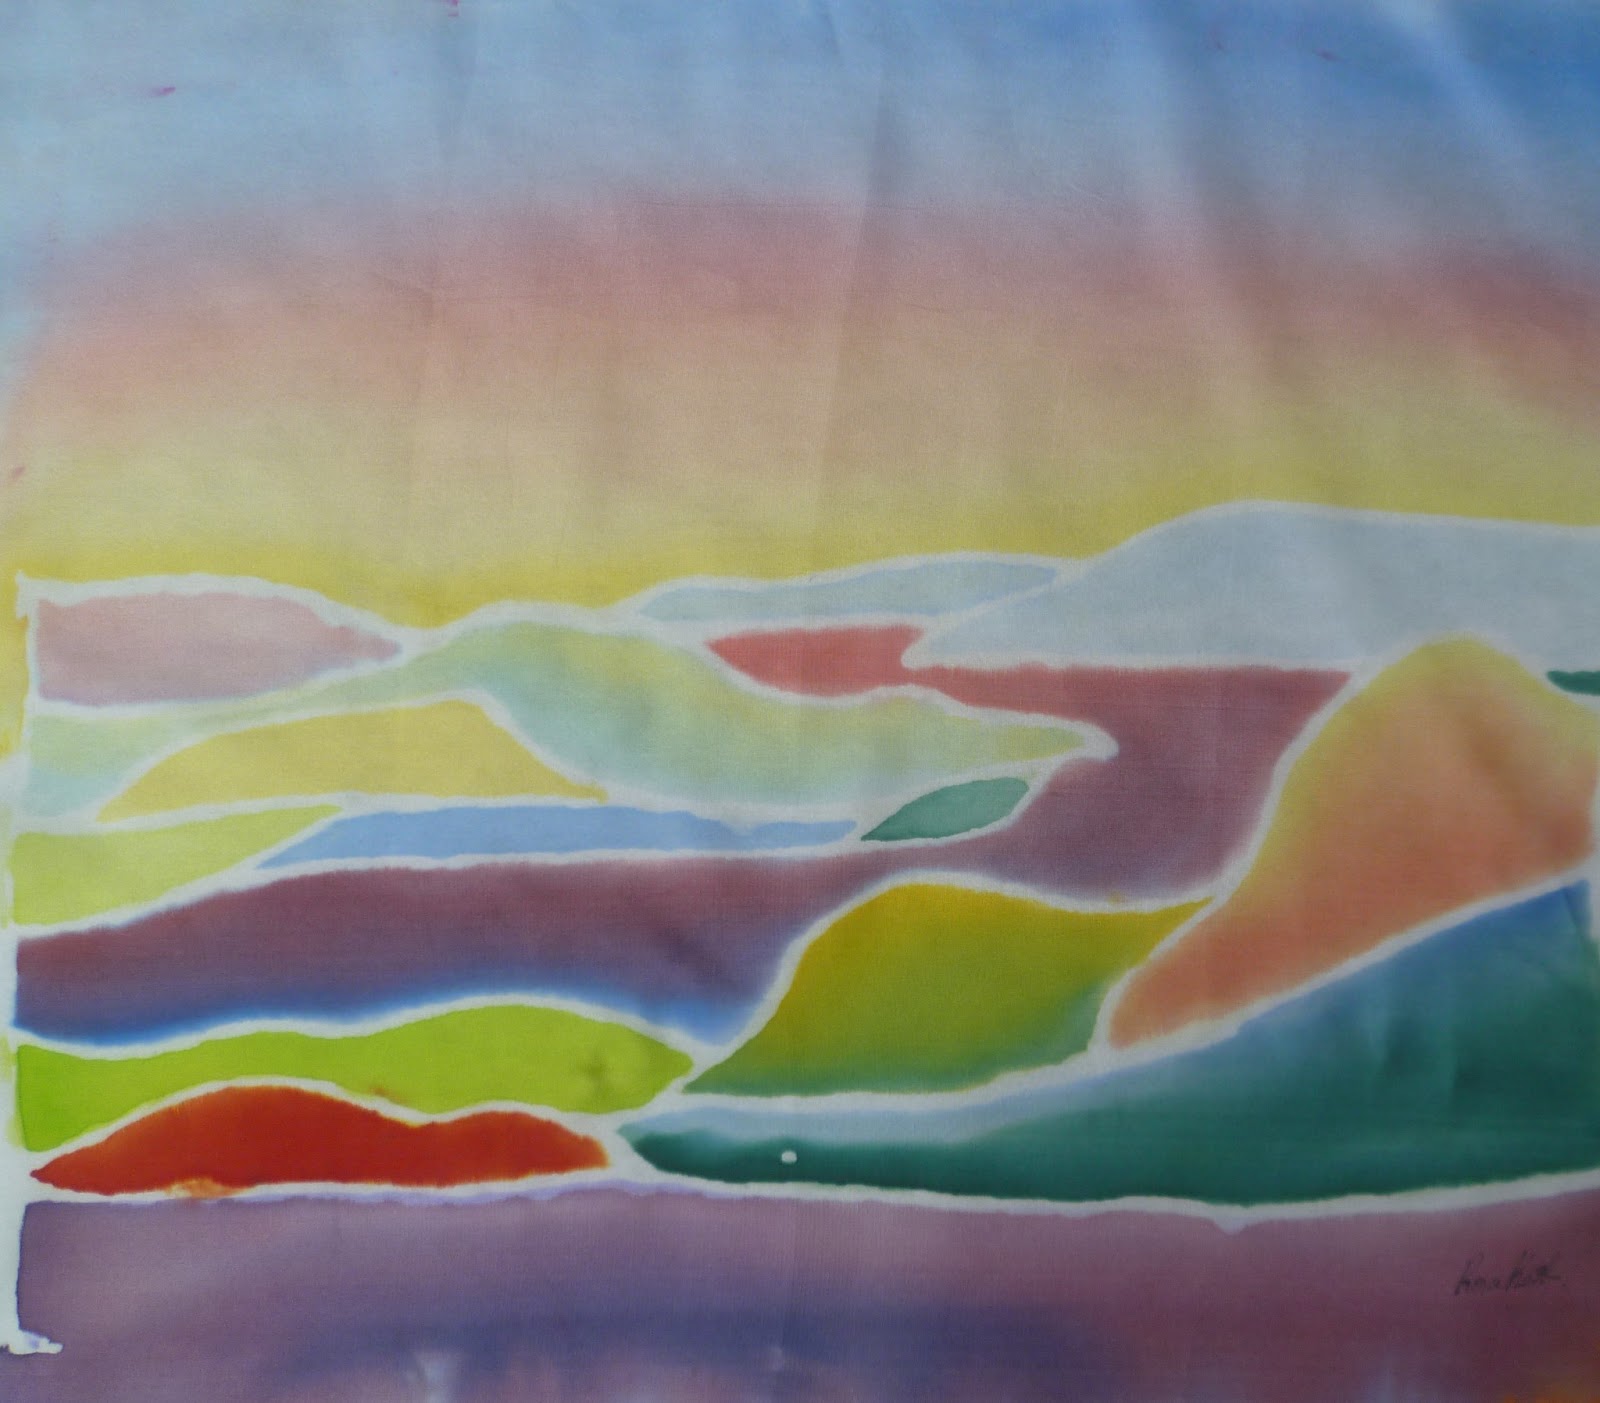
Silk painting with Lois
June was a busy month but no finishes!
And then I got a little bolder. I prefer this one.
I took a silk painting class with Lois from the Quilt Shop in Papamoa. Lois provides everything, including the design and also took our silk paintings away with her and steam set them for us. A great class if you want to try out a silk painting.
This was my first painting.
And then I got a little bolder. I prefer this one.
I'm going to put them on interfacing and quilt them. Then I don't know what I'm going to do with them! Start an Etsy shop maybe!!
Monday, July 1, 2013
UFO day at guild
There were five Saturdays in June so we had an extra guild day, our UFO day, but some of us played instead. I took in all my crayons, pens and fabric paint and we did rubbings, stencils and stamps. Look at the wonderful work we all produced!

Shona made her own stencil using freezer paper. We had some stencils I had made, some commercial Christmas and bug stencils and Helen brought in stencils she had bought from Lisa Walton. They are lovely, such delicate detail!


Suzanne, do you recognise your stamps?


Some us made a second piece with a wash of fabric paint over the wax crayon. I didn't get a photo of them but they looked great too. Their challenge is to chop up their fabrics and piece them into something. My challenge is to finish the tablecloth that I started almost a year ago!
Shona made her own stencil using freezer paper. We had some stencils I had made, some commercial Christmas and bug stencils and Helen brought in stencils she had bought from Lisa Walton. They are lovely, such delicate detail!
Suzanne, do you recognise your stamps?
Some us made a second piece with a wash of fabric paint over the wax crayon. I didn't get a photo of them but they looked great too. Their challenge is to chop up their fabrics and piece them into something. My challenge is to finish the tablecloth that I started almost a year ago!
Subscribe to:
Posts (Atom)