Friday, January 28, 2011

Start of a gecko design

Since I have no sewing machine and I'm still sewing the binding on the heart quilt, I thought I would share my next design with you.

Preamble to the design - Last September I was down in Hastings at the Blossom Festival with the Caribbeanz Southern Stars Steelband. That's me in the back right in the black tshirt and sunglasses. I should add musician to my description about me! This was the second year that we've been invited to play at this festival and we have already been invited for next year, which is a BIG deal as the rugby world cup is on and we have tickets to the game down there.

Isn't the covering on the bandstand fantastic. It would make a lovely quilting pattern.

When we go to Hastings, we stay at the Omahu Marae. This is the wharenui (Maori meeting house and also where we slept). I love the kowhaiwhai patterns on the beams.


My design was inspired by some paintings in the wharekai (which I forgot to photograph). The one that inspired me was a very simple gecko shape. I thought it would be great to put that together with a kowhaiwhai pattern and make another ghost layer quilt. I went for a simple koru design. Put two simple designs together and this is what ended up in my sketchbook.


I'm in the process of transferring this design to freezer paper - and making all the legs and feet in proportion with the body! I'm not sure what to do about the feet. Real gecko feet are sort of tear drop shaped. Graphic images of geckos tend to have little circles for toes. Whatever I do, I'm going to fuse the foot part since the shape is too fussy for my piecing method.

I haven't decided on colours yet but it may only have four fabrics, light and dark for the background and light and dark for the gecko. Then again, I may do my usual and have about 40 fabrics in it!

Wednesday, January 26, 2011

I've moved!

I've moved and I'm back in communication with the world, or more specifically, the corner of the world where my daughter lives. She only checks my blog about 10 times a day! I think someone misses their mummy. :P


This is the view from my deck. As you can see it is a bit wild over the wall and probably full of rodents.  My neighbour feeds seven stray cats so I'm hoping they keep the vermin population down. One of the cats walked past as I took this photo.

It's a lovely place to sit and sew the binding on a quilt.


And this is just to make you smile. Look at the coffee I was served yesterday! haha


Saturday, January 22, 2011

Be right back - in a week

My sewing machine is packed and I'm ready to move house tomorrow. I think the sewing machine is going to have a little holiday with the sewing machine mechanic when I move. I may as well use the time when I'm busy with other things to get an overhaul. Also, since I leave everything to the last minute, my broadband is getting connected on Wednesday so I won't be able to check in until then. That means lots of lovely blogging to read when I get back online!

So I'm off to pack, move, unpack and perhaps get on with my hand sewing. Oh, and there is just the little matter of preparing for school.  I think I go back to work on the 1st Feb.  I haven't even seen my timetable!  I'm going to show up on that day anyway and see if there is anyone to teach!

Thursday, January 20, 2011

Pebbles and swirls

I've quilted a bit more of the dragonfly quilt. My first attempt at pebbles...
 

And this is based on a design I saw on Leah Day's blog, Poseidon's Eye. I wanted something that looked like eddies in the air from the dragonfly's wings.
 

You can maybe see the pattern a little better on the back. There is a definite circle theme in this quilt.
 

Wednesday, January 19, 2011

For Melanie

My poor Mel is not feeling well and she is a long way from home so I can't give her a hug - so I'm showing her my quilting instead.
 

And the back. How do you like the backing fabric? I thought the circles were a nice touch. Maybe I should do a whole cloth quilt one day. I love the back of quilts.

And a note for Melanie, a casual email from your hospital bed is not going to stop me worrying. Worrying is my job! I'm sure all the mums out there would agree with me. Get well soon pet.

Saturday, January 15, 2011

Making great circles


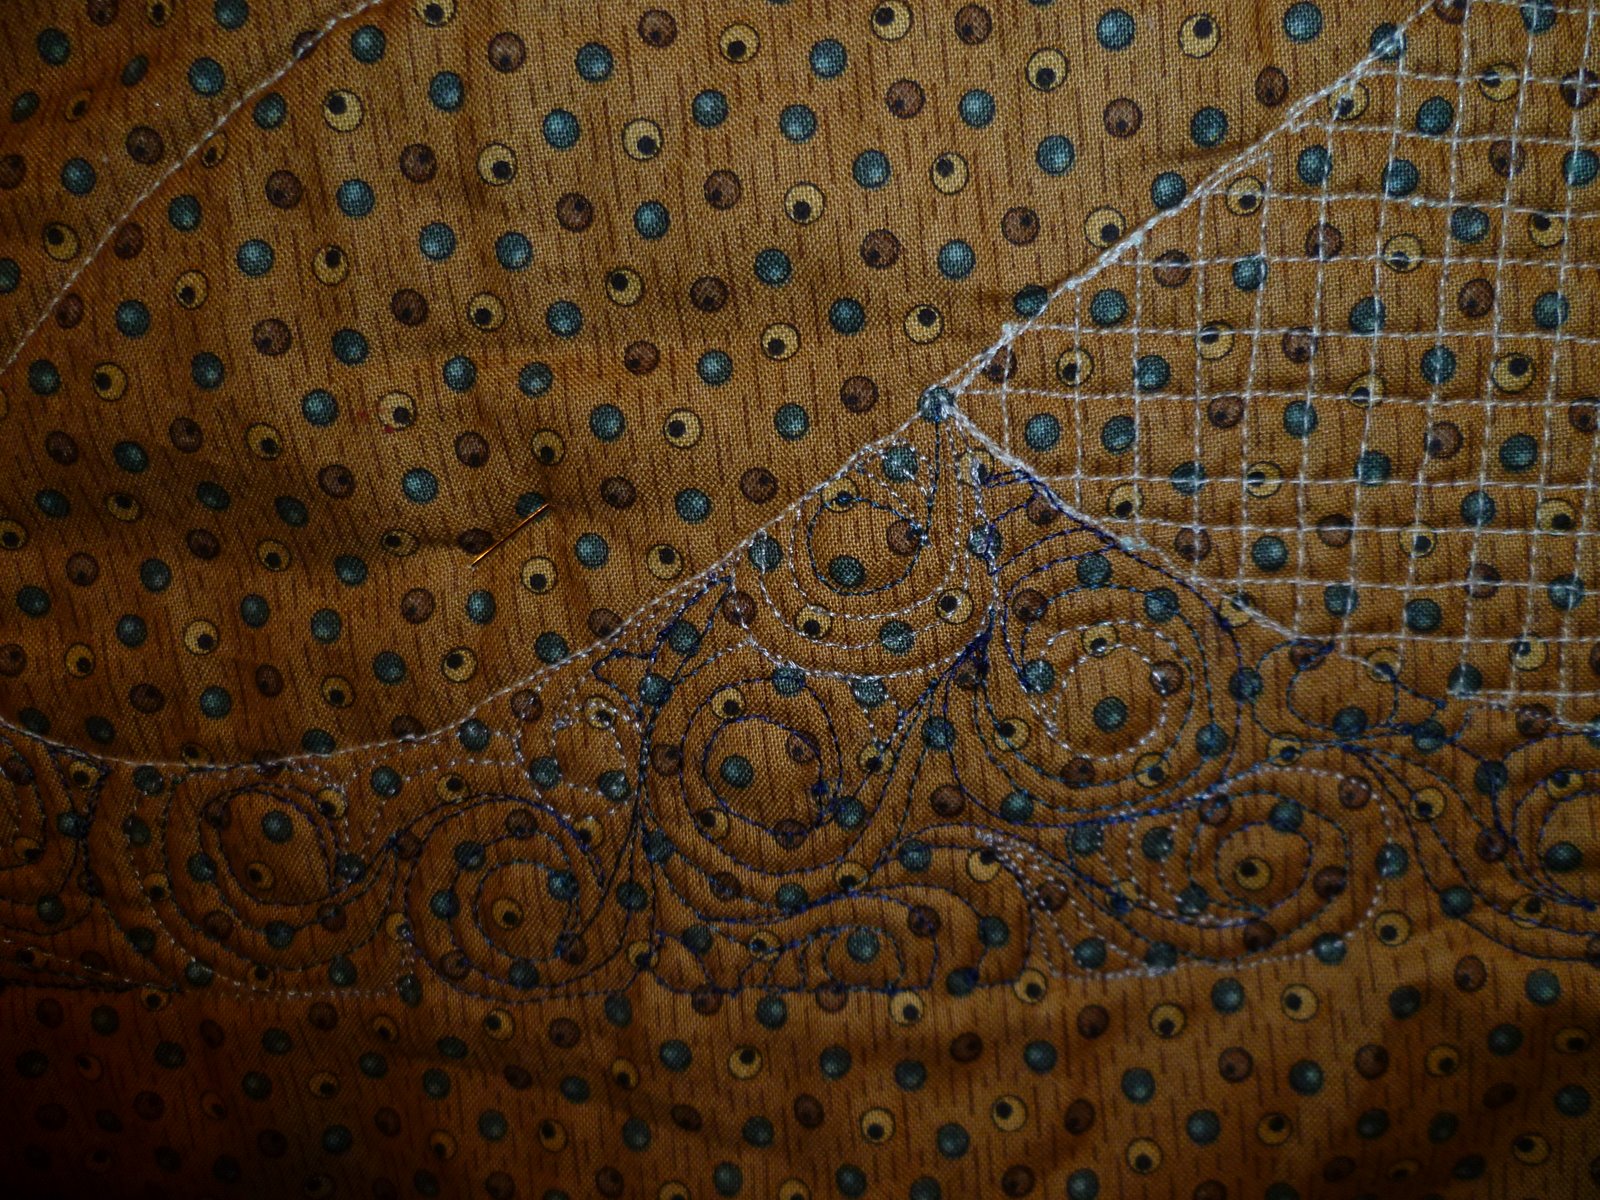
I added another border to this dragonfly. It needed more punch and I think this has certainly delivered punch! I made up blocks with random sizes and sections of circles. Then I put four blocks together for each side, put one strip on top of another and cut through them with my rotary cutter in a wavy line. Then I swapped sections and put them back together, just to break up the colour even more.

Here are some instructions for making perfect circles.


You will need:
  • freezer paper
  • compass
  • glue stick
  • 'No More Pins' or 'No Sew' glue
  • 2 squares of fabric
  • the usual sewing tools


Cut out a square of freezer paper the size of your block. Find the middle by drawing in the diagonals. Draw a circle of desired radius. Cut out the circle and iron the freezer paper on to the back of the outside fabric. Cut out the middle of the fabric leaving a good 7-10mm seam allowance. Clip the inside edge of the circle but don't go right to the paper. Stop about 2-3mm from the edge. Put a good smear of glue on the paper side of the freezer paper, all round the edge of the circle. Fold the clipped edge around the paper and stick it to the glue. Try to get the fold butted up against the paper. Press well from the right side.


Still working with the outside fabric, run a thin line of the 'No More Pins' glue around the wrong side of the edge of the circle. Make sure that it is a continuous line and as close to the edge as possible. Practice on the scrap you cut out of the middle until you can get an even flow from the bottle. Place on top of the circle fabric and press with your fingers. Do this on the table and not the ironing board. You need a firm surface.


Leave to dry for about 10 minutes then carefully peel the fabric off the paper just to the edge of the circle.


Remember the paper is glued to the clipped part with glue stick so you don't want to pull on those bits. Also, you don't want to leave it too long from the time you glue the clips down until this stage otherwise the paper really sticks well to the fabric. Tear the paper and ease the paper off the clipped area starting from the middle. Save the freezer paper so that you can trim the block to the correct size.


Once the paper is off, put a few pins in across the folded edge.


I have tried the sewing stage with a zipper foot and an ordinary foot. The zipper foot with the needle on the left seems like the logical choice since the fabric is flat on the right and all bunched up on the left. But I found that ordinary foot made a better job. Use the line in the middle of the foot to line the needle up on the fold. You have to sew slowly and stop frequently to flatten out the fabric on the left (as I am doing here) but you shouldn't have to lift the presser foot if you guide it round the circle.


I've done this in red thread so you can see what it looks like. That stitching is exactly in the fold.


Trim the circle fabric back to your usual seam allowance. As you can see, I gave the outside fabric seam allowance a bit of a haircut too.


I washed my blocks at this stage because the glue can be rough as it dries. They only needed a short soak and squeezed to get rid of the glue. After pressing, to get the block the correct size, iron the freezer paper pattern to the front of the block, add your seam allowance and trim the block.

Is that not a lovely circle!

Tuesday, January 11, 2011

My ghost layer quilts

I was really excited about using Katie Pasquini Masopust's design technique after reading her book 'Ghost Layers and Colour Washes'. It's a three step process that is really simple to follow and is fun to play around with.

This was my first one, done in a hurry as I needed it quickly for an exhibition at school. I didn't put a lot of thought into it. In fact, I think I used the squiggle from the example in Katie's book. I loved the design technique but I struggled with the piecing method Katie described. As you can see, my straight lines ended up a bit curved as I tried to match seams together.


I came up with my own method for piecing, which I will explain in another post, and made this little sample to try it. It was going to be a throw away sample but you know what quilters are like, can't throw anything away. So I added some embroidery and borders and it became a small wallhanging.


This sample was made to test some of the kinks in my piecing method. I discovered that fine bobbinfill will show on the top when you use monofilament thread in the needle. It was a useful exercise.


This is my latest project. It has grown a bit since this photo and deserves a post all to itself. More later...