Monday, January 28, 2013

Bento lunches

School starts tomorrow and I'm planning my lunches. I'm not going to be teaching in one class room this year so my usual lunch of left-overs may be difficult. One of my classes is at the opposite end of the school from the staffroom and I don't want to be spending all my time walking about so cold lunches I can eat in the resource room or class room would be better. Yes, the exercise is good for me but the stress isn't! Stress = eat on the run = muffins! So I'm planning some nice healthy bento lunches.

Here's my current lunchbox scenario.

My lunchbox is the right size and has a divider. Did you know that your bento box has to be the right size for your sex and age? More info on that on Just Bento. I bought a new ice pack as my old one was an questionable number of years old. But I can't find a better cold bag that this one. It's the right size, made by the same people as the box, but it has problems. It only fits the box and ice pack but I'm not going to pack any extras so that's not a problem. The main problem is that it stands up. The box should be leakproof but if I'm made my lunch horizontal, that's the way I want my lunch to stay. Also it doesn't have a carry strap for when your hands are loaded with books etc. And, the biggest problem, it doesn't look CUTE! Sorry about the caps shouting but I want my lunch to look nice!

So I made a strap.
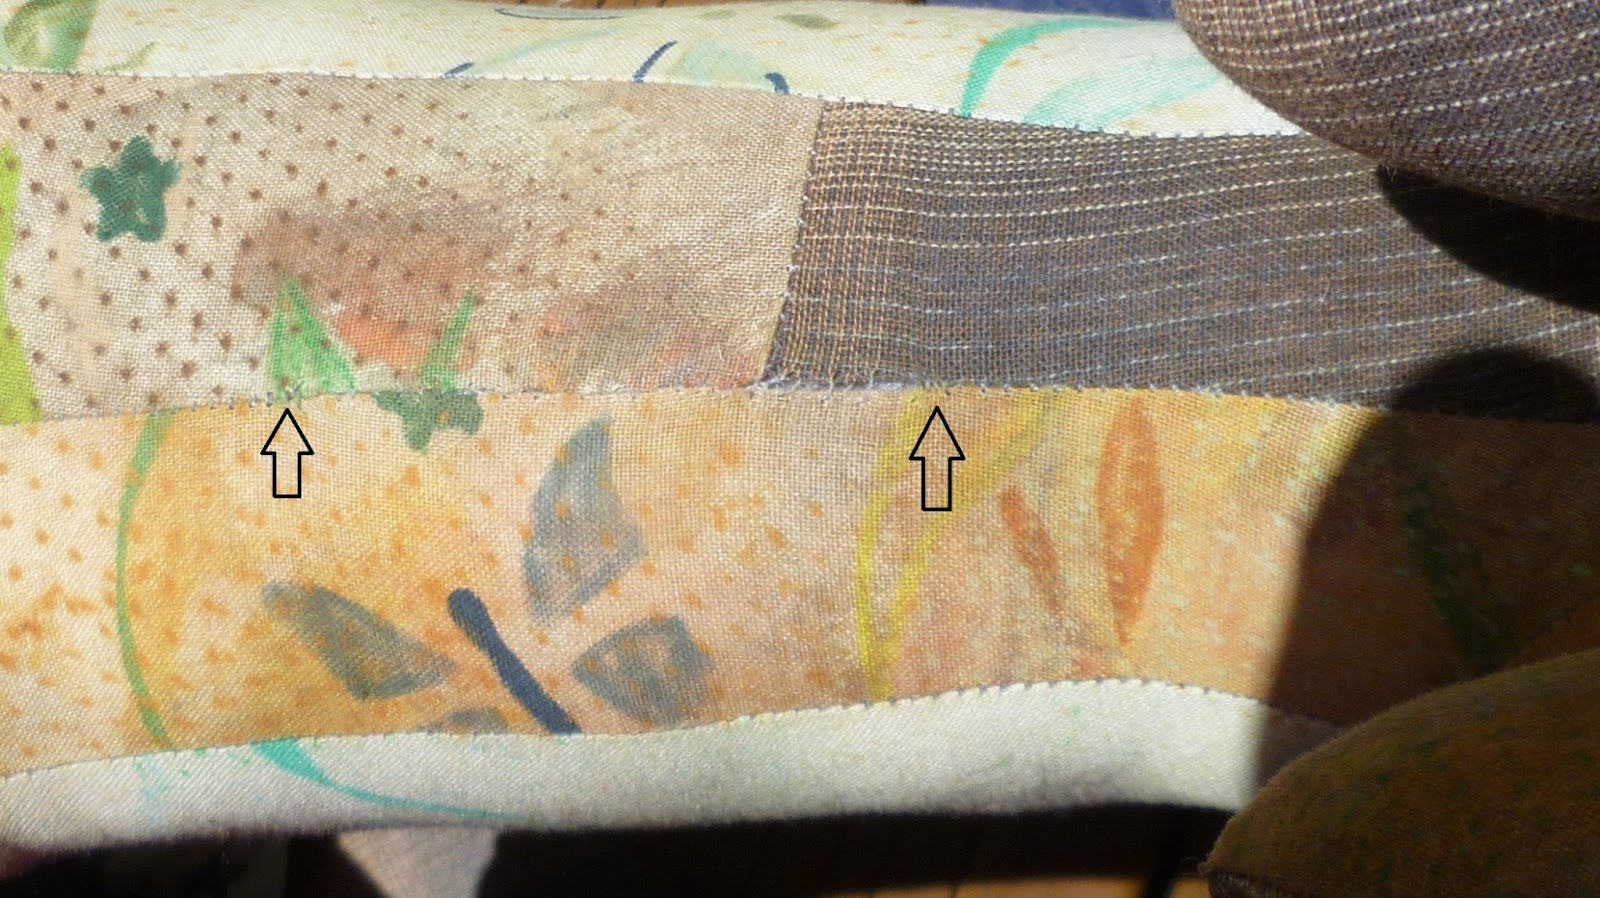
This part velcros so I can still get into the zip pocket. Designed to be carried over my wrist.

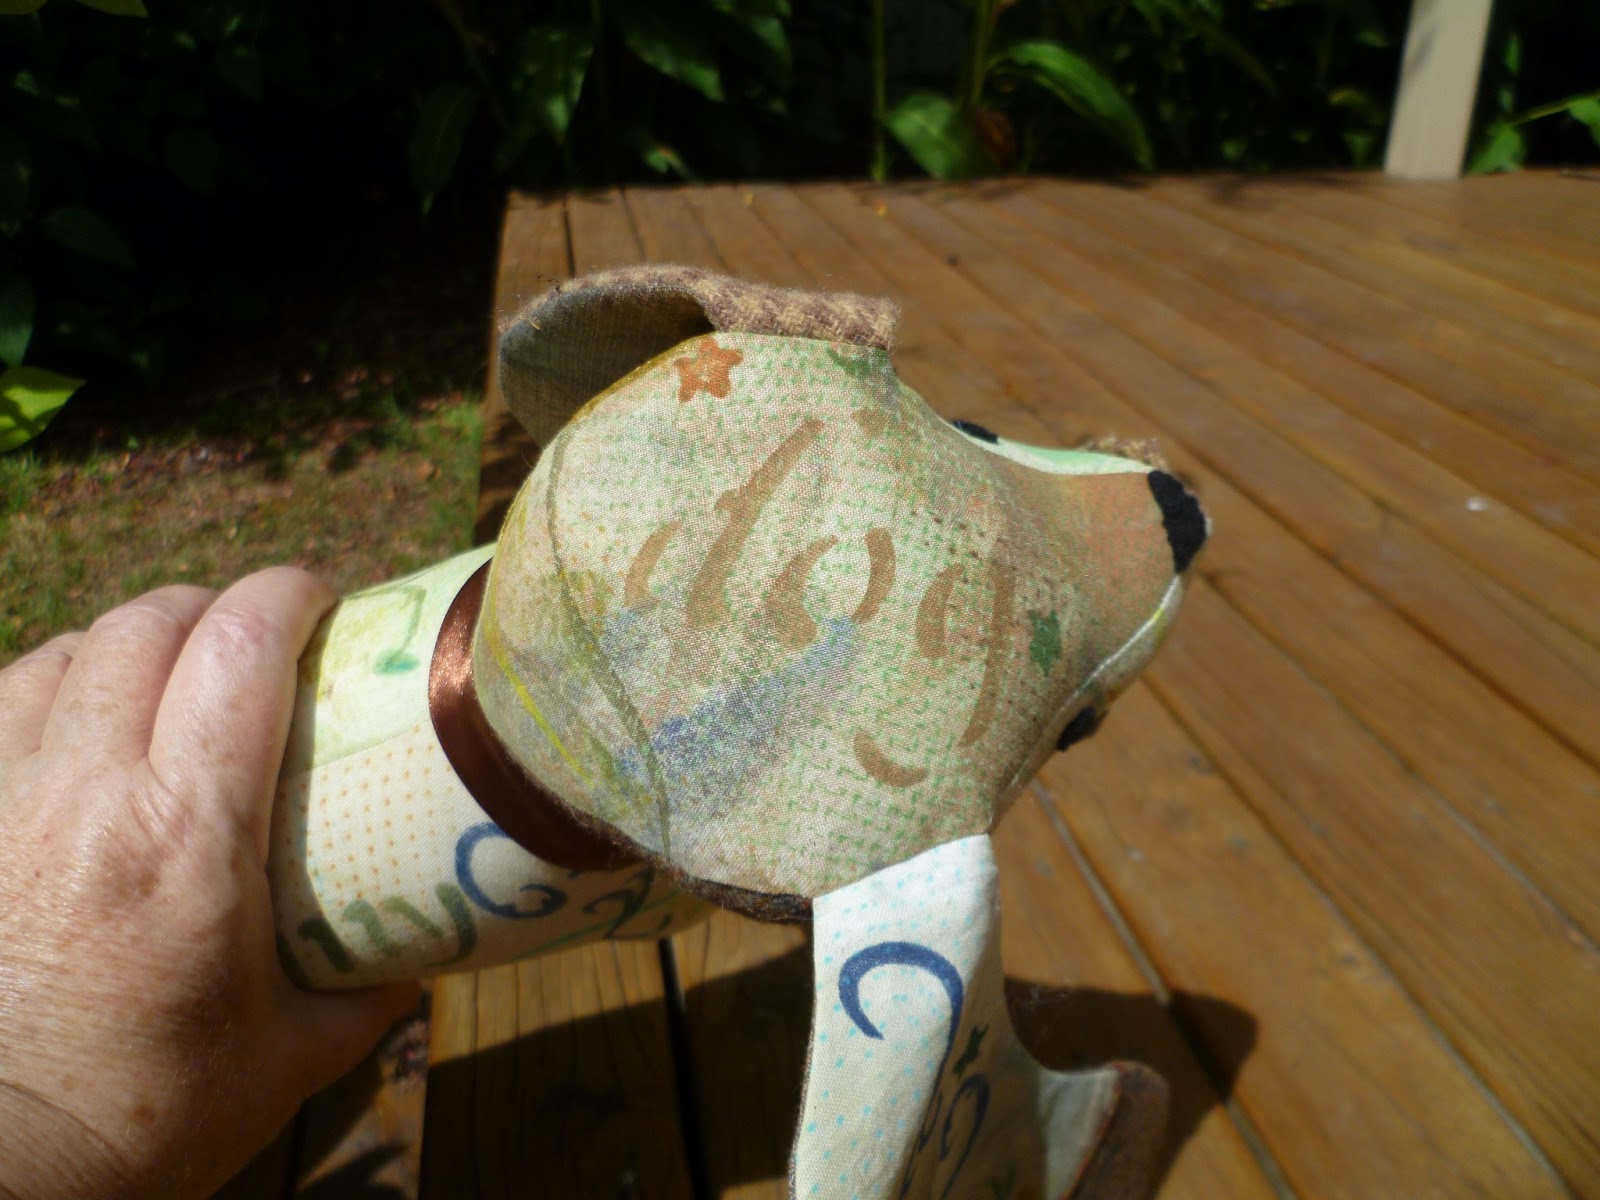
I've also added a long strap so that I can carry it over my shoulder. 
I've hot-glued the strap assembly to the bag and I think you'll agree, it not only looks better but is more functional. 

It was also an opportunity to improve my binding sewing skills. I watched a video of Sharon Schamber's on binding (from Monika's blog? Can't remember!) and picked up some great tips. I will now use ladder stitch and not the slower applique stitch that I've been using up to now. Maybe all tutors teach ladder stitch nowadays but I've come from a dressmaking background and I'm basically self-taught over the past 30 years. I can't believe I've been doing this for 30+ years! And there is still more to do and learn!

I picked up this great tip on another bento blog. Take any minced meat (either as it comes from the butcher or add breadcrumbs, seasoning and egg for patties as I did here), put it in a large ziplock bag, squash it flat and then score into portions. When it is frozen, the portions snap apart. Clever!


This recipe is 450g chicken mince, 450g pork mince, one egg, about 2 cups of wholemeal breadcrumbs, small bunch of chopped parsley, 2 tbsp Thai seasoning from the tubes that you find in the veg section at the supermarket, 1 tsp veg stock powder, salt, pepper. I used my quilting ruler to measure the squashed bag, divided it by 3 and then pressed down with the edge of the ruler to score it. I think the middle portion is slightly fatter than the others so maybe next time I take that into consideration and make the middle section slightly less than a third.

All set for my first day back at school!

Thursday, January 17, 2013

Timmy Dog

I really want a dog so I made one!

This pattern was designed by Abby Glassenberg. It's incredibly clever! I learned a lot about sewing accuracy, clipping and stuffing (I would do it better next time) but even given my slapdash approach, it turned out great. The darts in the underbody and shape in the pieces made even my sewing look good.


This is where the opening in the underbelly was, between the arrows. I started sewing the ladder stitch at the right hand side without reading glasses, found my glasses when I got to the join in the brown fabric and finished it with much better stitching! I should have unpicked the first bit but I didn't realise I could get it so good until I had done about half of the rest.
I enlarged the pattern from A4 to A3, so doubled. This shot gives you an idea of the size. You can also see that I've stencilled 'dog' on his head. I have used fabric paint, Derwent Inktense blocks, Fabrico pens, rubbing with crayons on net, onion bags and other stuff my flowers were wrapped in as well as stencilling with crayons. Then I've added scraps of wool tweeds and organza. It's a lot of fun to make.


Timmy Dog is curious.
Windswept model shot!

I also bought a bird made by Abby. Here's what happened when they met...
Hello! I'm Timmy Dog. What's your name?
I'm Little Birdie. I was made by your designer, Abby Glassenberg.
Nice to meet you Little Birdie. Will you be my friend?
OK.
Timmy Dog and Little Birdie in their house (aka The Bookcase).


Thursday, January 10, 2013

2013 Visual Diary

I've started a new sketchbook or visual diary for this year. It needed a cover, of course! I painted these flowers with Derwent Inkentense blocks. I've even made a title page.

My original photograph was not the best, too much shadow, but I love the flowers.


I applied the colour in three different ways. The red anthuriums were painted by directly applying the block to the fabric and then going over it with a wet paintbrush. It's a good way to get a intense colour on larger areas. For the pale blue background, I wanted more of a soft wash. I scraped a few little crumbs of the block into my paint palette and added a lot of water. I wanted more control and blending for the orange daylilies. For them I wet my brush and then picked up colour directly off the block. Sometimes I blended the colour on the fabric just by putting the two colours together and adding water. Other times I blended directly on the block or the paint palette. I've quilted around the anthruiums only in black thread.

This is the back, quilted in feathers. The macro function on my camera changes the colour considerably!


Now I just have to fill it with exciting ideas! I'm following Heather Thomas making art every day. She is challenging herself to produce a small piece of art every day. I think if I can put something into my sketchbook every day, that will be enough of a challenge for me. But I'm finding Heather's work very inspiring. One of my current projects that is just at the thinking stage is to produce a fabric book. I think some of Heather's techniques will make it into my book, via my sketchbook of course.

I'm off to Kerikeri  this weekend to see their quilt show and catch up with friends, hopefully meet some new friends. I'm stopping off at Waipu on the way up. I'm going to see the Waipu Grand Pageant, a performance telling the story of the migration of Scottish Highlanders to Waipu following the Highland clearances in the 19th century. I'm looking forward to it. It includes horses, carriages, bullocks and I'm sure I read somewhere that there is even a burning croft!

Thursday, January 3, 2013

Quilt within a quilt

This is my first quilt finish for 2013. Maybe I should only make little quilts! I painted the daisies with the art group (with no name), cut them up into the little quilts (they're quilts as they are quilted and bound!) and then put them on this batik quilt that I quilted with crochet cotton in the bobbin.


I thought I hadn't done much in 2012. I moved house three times so that made it hard to finish things but when I look at my posts, I've actually achieved a lot. I made a few of these painted quilts. More table mat sized quilts! I seem to work best in in this size!

I also made three bags.

Then I made the purple/black/white quilt for a challenge (12" by 12"), finished a community quilt (yeah! a full size quilt!) and completed a couple of projects with the art group. I've really enjoyed some of the things we've done in this group. I'm looking forward to more creative stuff this year.

I started a lot of projects last year so I should manage quite a few finishes this year. I may even get on to remaking my Onehunga quilts, the painted quilt I made in 2011. I've got a series of three quilts planned and never even started them last year. I'm staying put at this house so maybe I'll actually manage to start them.

Wishing you all a Happy New Year and may it be a good one.