I had a play date with a couple of friends. We had all bought some Sun Dye paints from
Lisa Walton so we had a day of experimenting.
Helen had a little bit of some thicker paint that I used to print leaves by painting onto the leaves and then pressing on to the fabric. Some worked better than others. Sun Dye is too liquid for this technique and perhaps I should have let it all dry before adding the wash over the top!
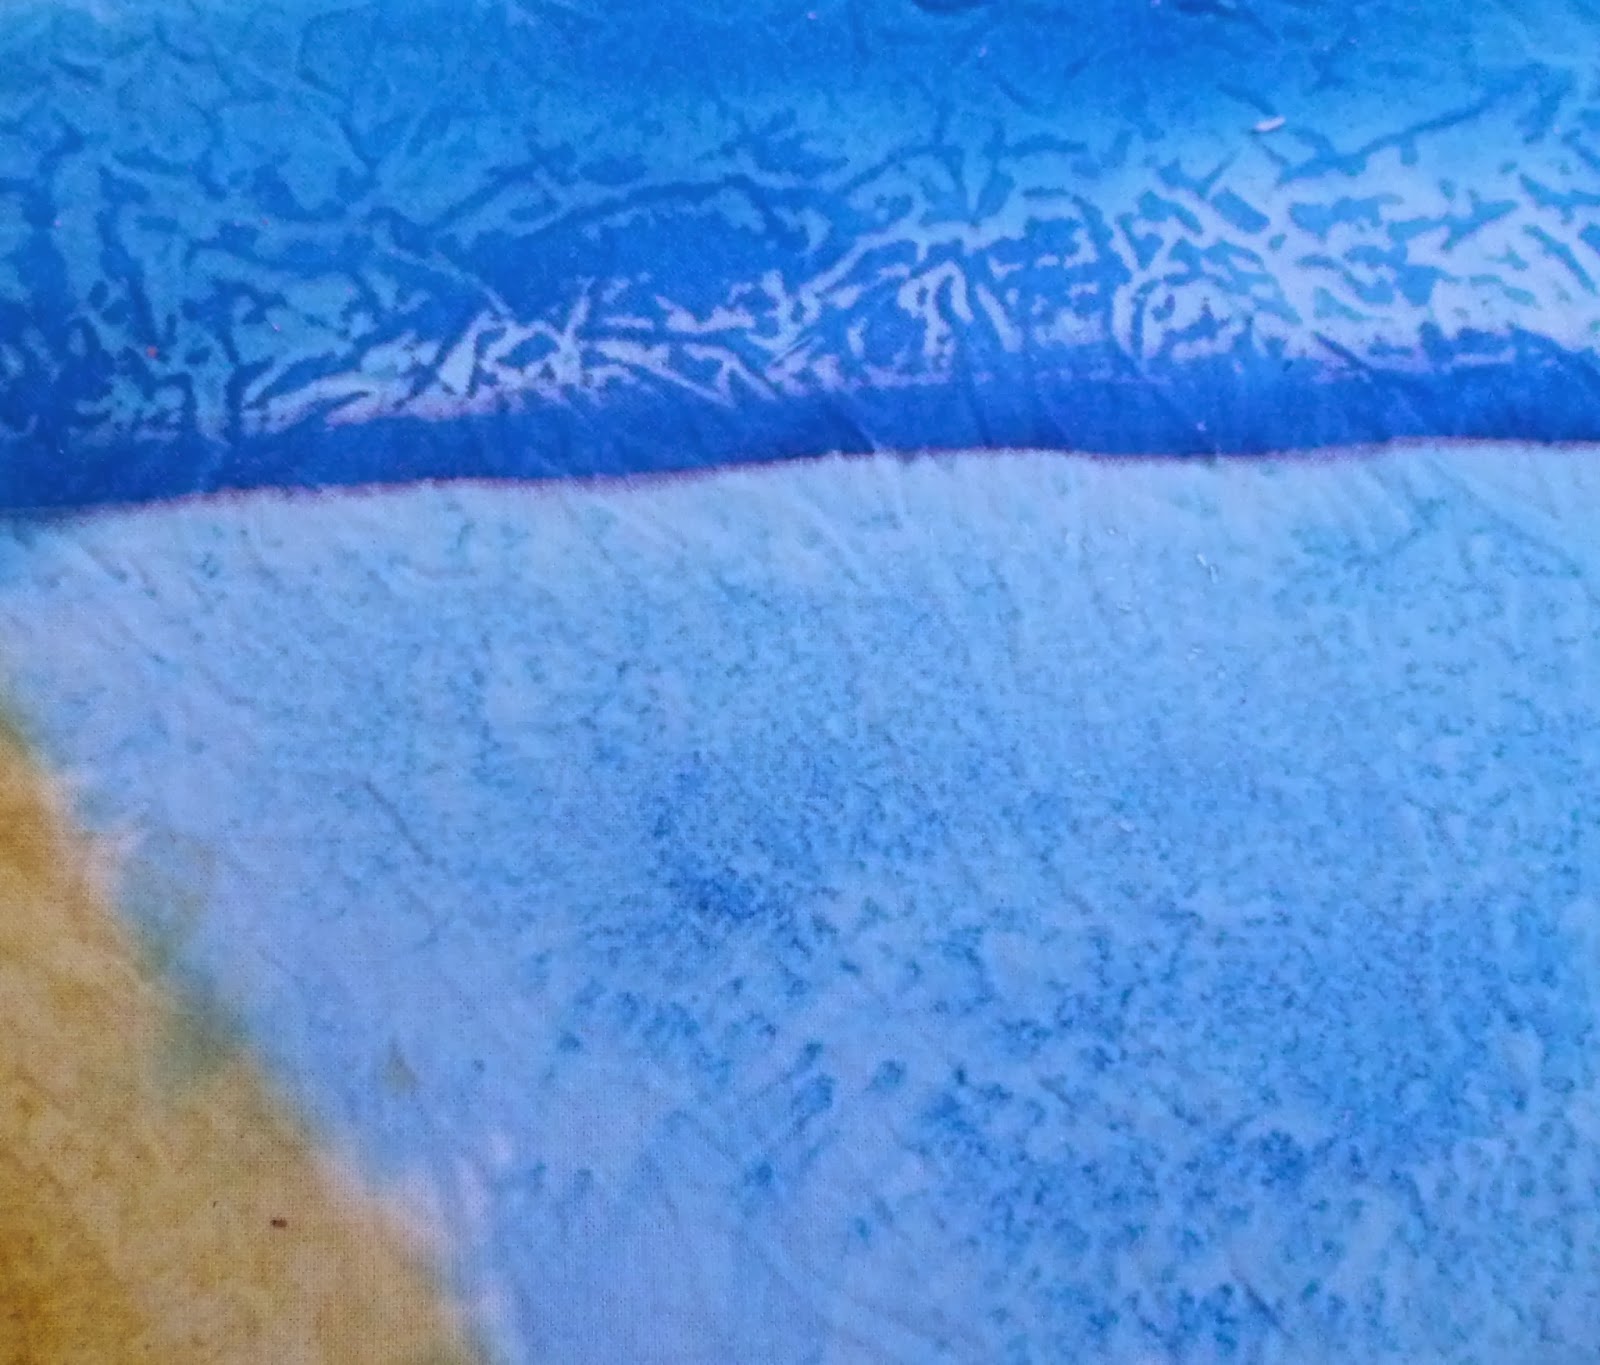
I loved this effect. This was the wipe up cloth after the one above, plus a little bit more colour to cover and then scattered with Epsom Salts and left in the sun.
This was just a doodle to see how much control I could have over the Sun Dye paint. Not a lot.
This was meant to be a sun print, the reason I bought the Sun Dye paint in the first place! I carefully arranged a load of different leaves on the painted fabric but nothing happened. Helen had the same problem. Then she said, "Do you think that doing it on a glass table is maybe not a good idea?" Duh! Then I had a double duh moment when I realised that I put the painted side down and put the leaves on the back of my fabric! Oh well, I'll just have to have another play.

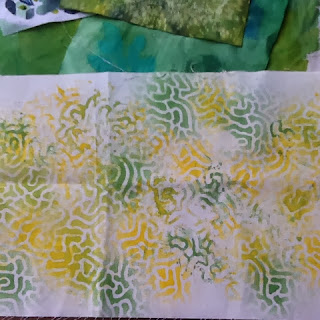
I was very pleased with this sample though. This was another technique that I had been wanting to try, spraying paint through a stencil. The liquid nature of the Sun Dye paint seemed ideal for it. This is one of the Helen's stencils that she bought from Lisa. It's quite small so I had to be careful to only spray the middle to avoid getting a straight line from the edge but as you can see, the pattern seemed to merge into one cohesive whole. I also turned the stencil over and blotted off the excess paint onto the fabric so I've got positive and negative images. I only had one spray bottle and used three different colours but I think this would be easier if you had several bottles and could add more of any colour as you go. You also need to work quickly as the paint drys to a thin plastic film which clogs the nozzle. A great effect and well work the effort!
So I had another play. It was a lovely still day yesterday but I was too busy. Today was a little bit windy but very sunny. This time I lined the table with cardboard and a sheet of plastic and although I was worried that the fold in the cardboard might show through, the results were good.
I painted this length in about three sections to try to get the leaves on to wet paint. Some of them stuck to the paint but I put pebbles on top just to be sure they didn't fly away.
I scattered these little skinny leaves over when I had finished and the fabric felt dry already, I didn't think it would work but they look great. They give a real feeling of depth to the print, like little fishes swimming under the lily pads!